 Happy Friday! My son’s Don’s room is one of the happiest places in our home. It has a safari theme and though it is small (12’x11′), it packs a big punch. We have been slowly changing it up (the new gallery wall and the custom house bookcase have been two of my favorite updates). This week we decided to add some new crown molding and art. Let’s talk about the art first! This wall above the bookcase has been a mini gallery wall for a long time:
 It was happy and fun, but looked a little cluttered and busy. Around that time, I learned about the company Greater Skies and their beautiful personalized sky map prints. I loved the idea of having a rendition of the stars and planets just how they were the night Don was born. I ordered the 18″x24″ poster and love how it turned out!
sky map art for Don’s room

The map shows the place, date, and time that Don was born plus a personalized message. I choose the lyrics from one of my favorite songs (“What Can I Do” by Joy Williams) that I listened to all of the time when Don was born: “There you were and there I was. Was it fate from above? Either way I found just what I need. All I do is think of you. Close my eyes and fall into a world totally made for you and me.”
I love, love personalized art with deep meaning, plus I think it looks so beautiful in his room! This is definitely a treasured piece for our family. I think a sky map from Greater Skies would be a great gift for an anniversary or a birthday too!
With the new art up, it was time to add some crown molding! We have crown molding up in our kitchen, but I’ve been wanting to add it to the rest of our home. It cost $60 for this room. The problem is we forgot what a pain it is to cut it correctly! We did figure out a few things that made it easier, so I wanted to include those tips here:
tips to making crown molding installation easier
measuring-
when measuring the length of your wall, it can be tricky to be exact since you are dealing with a long span. Measure from wall to wall, but stop a little short- let’s say 100″, mark that spot with a pencil. Then measure from the wall to your pencil mark. It is much easier to get an accurate measurement this way.
mark your studs-
before installing your crown molding, mark your studs with a stud finder. Then, when you go to install your crown molding, nail in the molding only where there are studs. This will make for a super sturdy installation.
make crown molding templates-
for us, it is confusing remembering how to cut inside and outside corners. We ended up cutting templates so that we could verify that we had made the correct cut before getting the crown molding installed. This post by Saw Dust Girl was incredibly helpful to creating the templates!
installed crown molding after!

After we got the crown molding cut, installed, caulked, and painted the room looked so nice! I love adding character to our home with trim- it helps the ceiling feel higher and the whole room feel finished.

As we were working on the room, I was watching old episodes of Fixer Upper and in one, the home owner kept saying all that she wanted was crown molding. That made me feel like all of the effort was worth it.

Isn’t Don’s room looking so nice?! I still have a few things that I’d like to work on (mostly new carpet), but I am thrilled with how it is now!

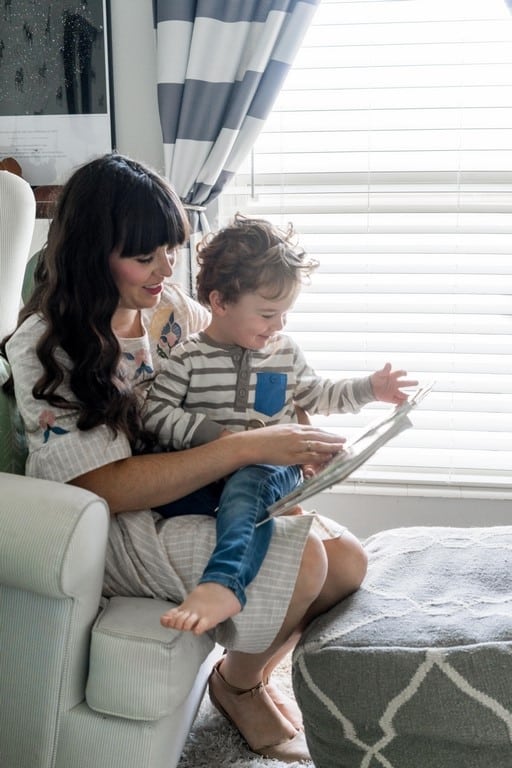
And yes, Don loves the Greater Skies print too :).
Room Sources:


This post is sponsored by Greater Skies. This post contains some affiliate links for your convenience. Click here to read my full disclosure policy.
