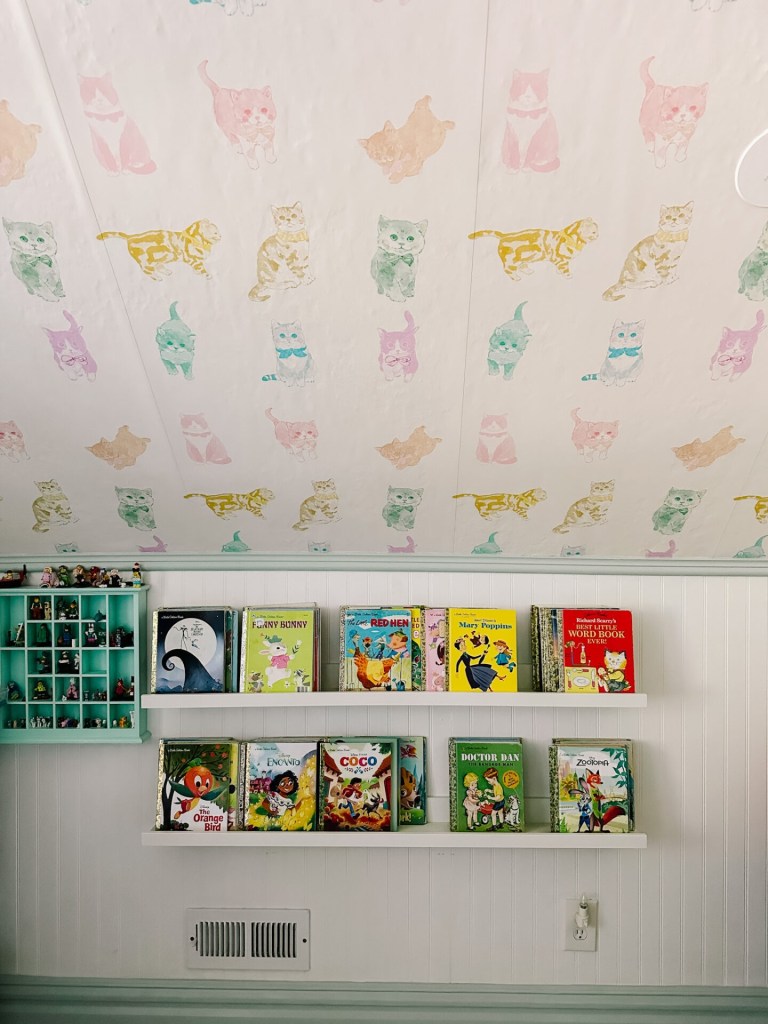
We’ve had the Ikea Mosslanda picture ledges for a few years now. I love them because they’re affordable and a great way to show off books without taking up much space. But they are simple, so today I’m going to add some split wood balls to give the bobbin look to them. Plus I’ll also paint to add rainbow colors to this Ikea picture ledge hack.
how to diy an Ikea Picture Ledge Hack
Let’s start with the video tutorial so you get an overview on what I did. Then, I’ll dive in with more details below:
If the video doesn’t work here, you can watch it on YouTube here. It’d mean so much if you’d watch the video! I’m trying to get better at my video skills so I can grow my YouTube channel. If you have a few minutes to watch this and/or subscribe, I’d so appreciate it.
SUPPLIES
- 2 Mosslanda Ledges
- 2″ Split Wood Balls (bag of 50)
- Gorilla Glue Construction Adhesive
- 12 Behr Sample Paint Cans. Colors- Shy Smile, Coral Fountain, Priceless Coral, Flamingo Feather, Charismatic, Corn Stalk, Frittata, Sparkling Brook, Green Aqua, Mirador, Tinted Ice, Early September
- 12 Paint Brushes
before
Here’s the ledges in my son’s room before. They’re fine. I like them. But why not hack them and give them more personality?!
On the wall next to the ledges, I have some 3″ split wood balls around the door. So I thought it’d be fun to bring the same look to the ledges.
step 1- paint
Start by removing the Mosslanda ledges from the wall if you’re re-doing ledges you already own (like me).
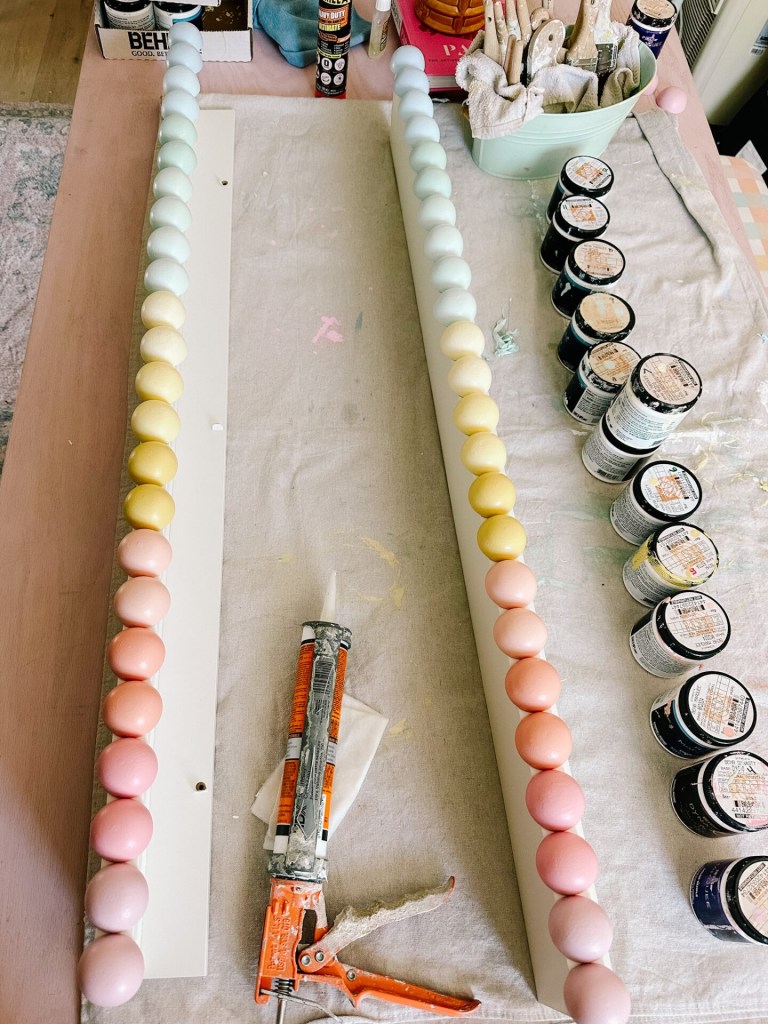
Then, begin painting the 2″ Split Wood Balls. Paint 24 balls for each ledge. Note, I’m using the 46″ long ledge. Every 2 balls I switched the paint color (so I had a total of 12 paint colors).
When painting, I like to hold the wood ball between my pointer finger and thumb and get the edge painted. Then I put it on the drop cloth and paint the top of the wood ball. I found this method to be the least messy.
I like to use a bunch of brushes for this project so I don’t have to rinse them out between coats of paint. To keep them wet, I put a damp rag in a metal bucket and cover the paint brushes with the rag when they’re not being used.
step 2- glue
Next, use construction adhesive to glue the split wood balls onto the Mosslanda ledges.
What I like to do is line the split wood balls onto the book ledge first and get the spacing looking nice (the end balls hand over a bit). Then, I go through and pull up one ball at a time, add some adhesive, attach the ball. Then I repeat all the way down the line.
Whenever I use construction adhesive, I keep a wet paper towel handy. That way if the glue gets on anything, it can quickly be wiped off.
Note, I’m using Gorilla Glue Construction Adhesive because in my experience, it holds quicker than other glues. Most construction adhesive needs to dry 24 hours before the glue is set. And when it’s wet, the items don’t stay together at all. I wanted this to be a quick project, and this is really the key to ensuring that!
Let the glue dry for at least an hour and a half.
step 3- install
And now, bring the book ledges back in the room and use screws to mount it on the wall.
This is a pretty simple process (especially if the ledges were already up).
Finally, arrange the books or accessories that go on the shelves and put them back up.
after
And that is my Ikea picture ledge hack! It’s simple and easy AND it gives the bobbin look that’s so popular right now!
I think the colors look amazing on the picture ledge. The rainbow tones make my eyes so happy!
These upgraded ledges are colorful and fun- perfect for a kids room! Though, I do think they’d look really refined all painted one color.
price breakdown
For this project, all I bought was the 2″ Split Wood Balls for $22.
To buy 2 Mosslanda Ledges would be $40 and the Gorilla Glue Construction Adhesive is $10.
I have all the paint colors on hand, but if I needed to buy them all, I’d get craft paint for $1-$2 each and a pack of inexpensive brushes. So depending on what supplies you have to pick up, makes the difference in the price.
I thought this project for $22 (what I paid) was great!
This is an easy, one day project. I love those! Where you can quickly see a before and after that adds some color and personality to a space. What do you think of the bobbin look on this IKEA picture ledge hack?
 This post contains some affiliate links for your convenience. Click here to read my full disclosure policy.
If you love it, pin it!


Always nice spaces and ideas 😁