
If you’ve been wondering why I haven’t updated my blog for the past week, it’s because my Internet has been down. There was a big storm and a tree took out my Internet cable. Turns out, as a blogger, I rely heavily on having wifi! Finally it is back up! So now I can share this fun project- how to make a PVC pipe rainbow.
I’ll be honest, the first time I tried this project, It was a bit of a disaster. I cut a bunch of PVC pipes and glued them onto wood. Sadly, they looked like organ pipes and not fun and modern like I was hoping. Let me show you-

I should have gotten the arch better. Also, gluing them onto the wood base was hard and they ended up crooked.
The pumpkins were really fun. I took a bunch of thrifted and Dollar store pumpkins and spray painted them with Colorshot spray paint. Hint- if you’re wanting to paint pumpkins, spray painting them is the quickest option! I love how they turned out. The colors are vibrant and I was very happy with the coverage from Colorshot.

This is a newer paint company and their products are sold at select Home Depots so keep an eye out for them on the paint aisle. Or you can order them online to be shipped to your home! I used the colors- Farmer’s Daughter Pink, Summer Pedicure, Emoji Yellow, Island Girl Mint, and Splash Blue.

Here’s how they looked on their own-

So pretty- right?! I love going a little bright with fall. You don’t have to use autumn colors to decorate with if you don’t want to! But since my arched rainbow was a bit of a mess, I decided to try again. My brain kept working it over- there had to be a way to make a cute and fun PVC pipe rainbow. Then I remembered my DIY abacus– maybe I could use that same method!
how to make a PVC pipe rainbow
SUPPLIES
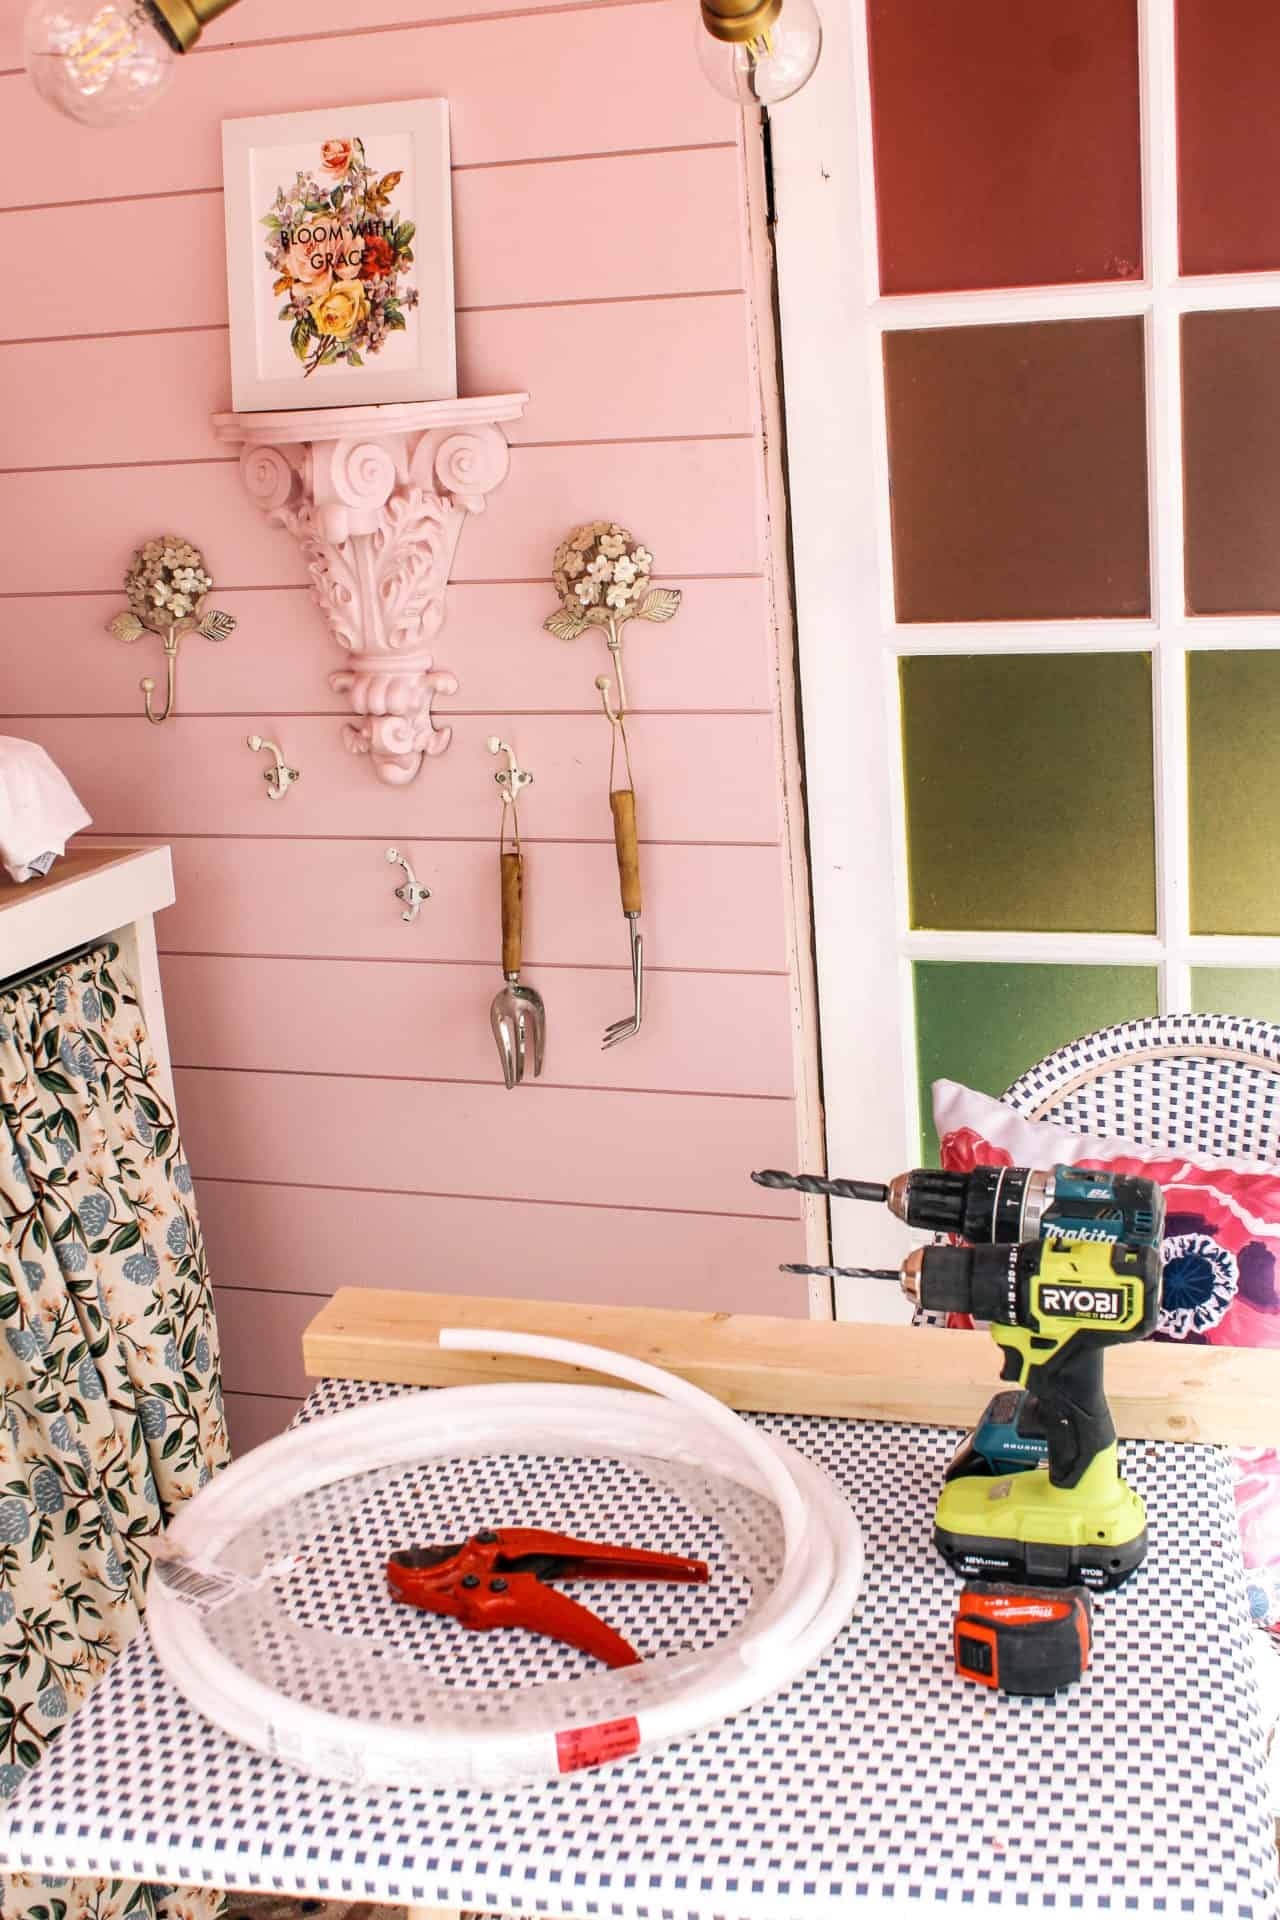
- PVC Pex Pipe 1/2″ x 25′
- Pipe Cutter
- 2×4 board cut down to 25″
- Drill
- Drill Bits
- Spray Paint in Farmer’s Daughter Pink, Summer Pedicure, Emoji Yellow, Island Girl Mint, Splash Blue.


step 1- cut wood base to size
Start by cutting a piece of 2″x4″ board to 25″ long. This is the perfect project to use a scrap piece of wood. The base is what stabilizes the rainbow.
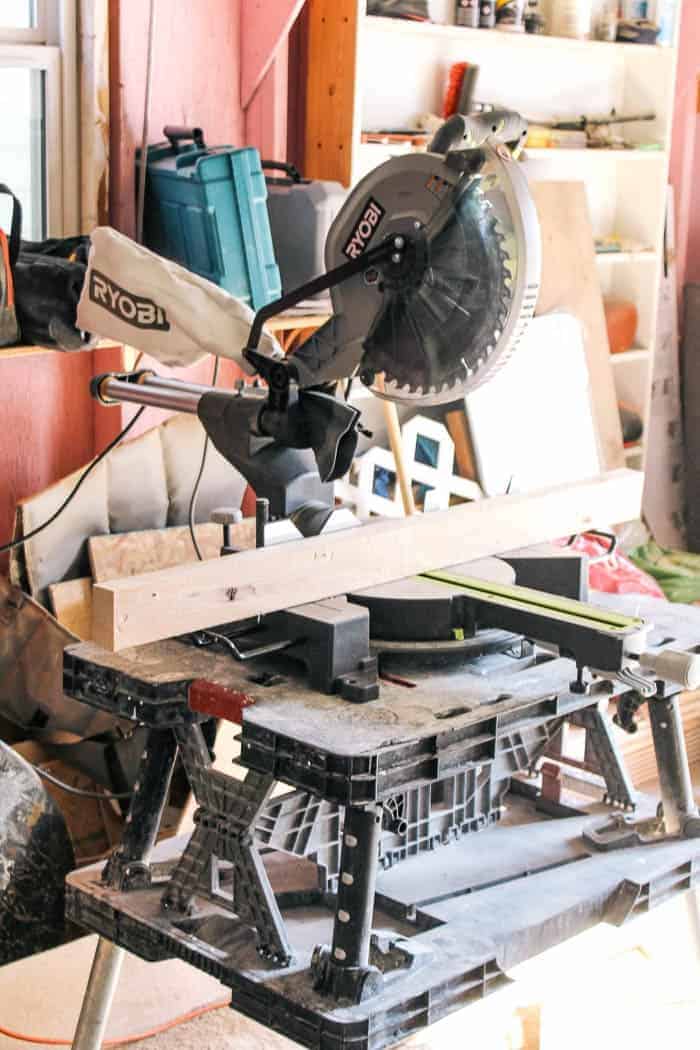
step 2- cut the pipes into arches
For the pipe, I made sure to buy the PEX pipe. It’s super flexible which is key for this project. I found it on the PVC pipe aisle at the hardware store. Only about 14′ are needed for this project (it comes in packs of 25′ sections). I bought a pack, but it turns out we had enough left over from our bathroom renovation! So I’ll probably return the new pack I got.


Next, cut the Pex pipe down into 5 pieces. I used the following sizes- 41.5″ for the biggest pink pipe, 37.5″ for orange, 33.5″ for yellow, 30.5″ for green, and 25.5″ blue. For this, I used a PVC pipe cutter and it worked super easily! To use it, just close down on the pipe and rotate around it til its all cut. You can use a miter saw to cut PVC pipe as well if you don’t have a pipe cutter.
step 3- drill holes in base
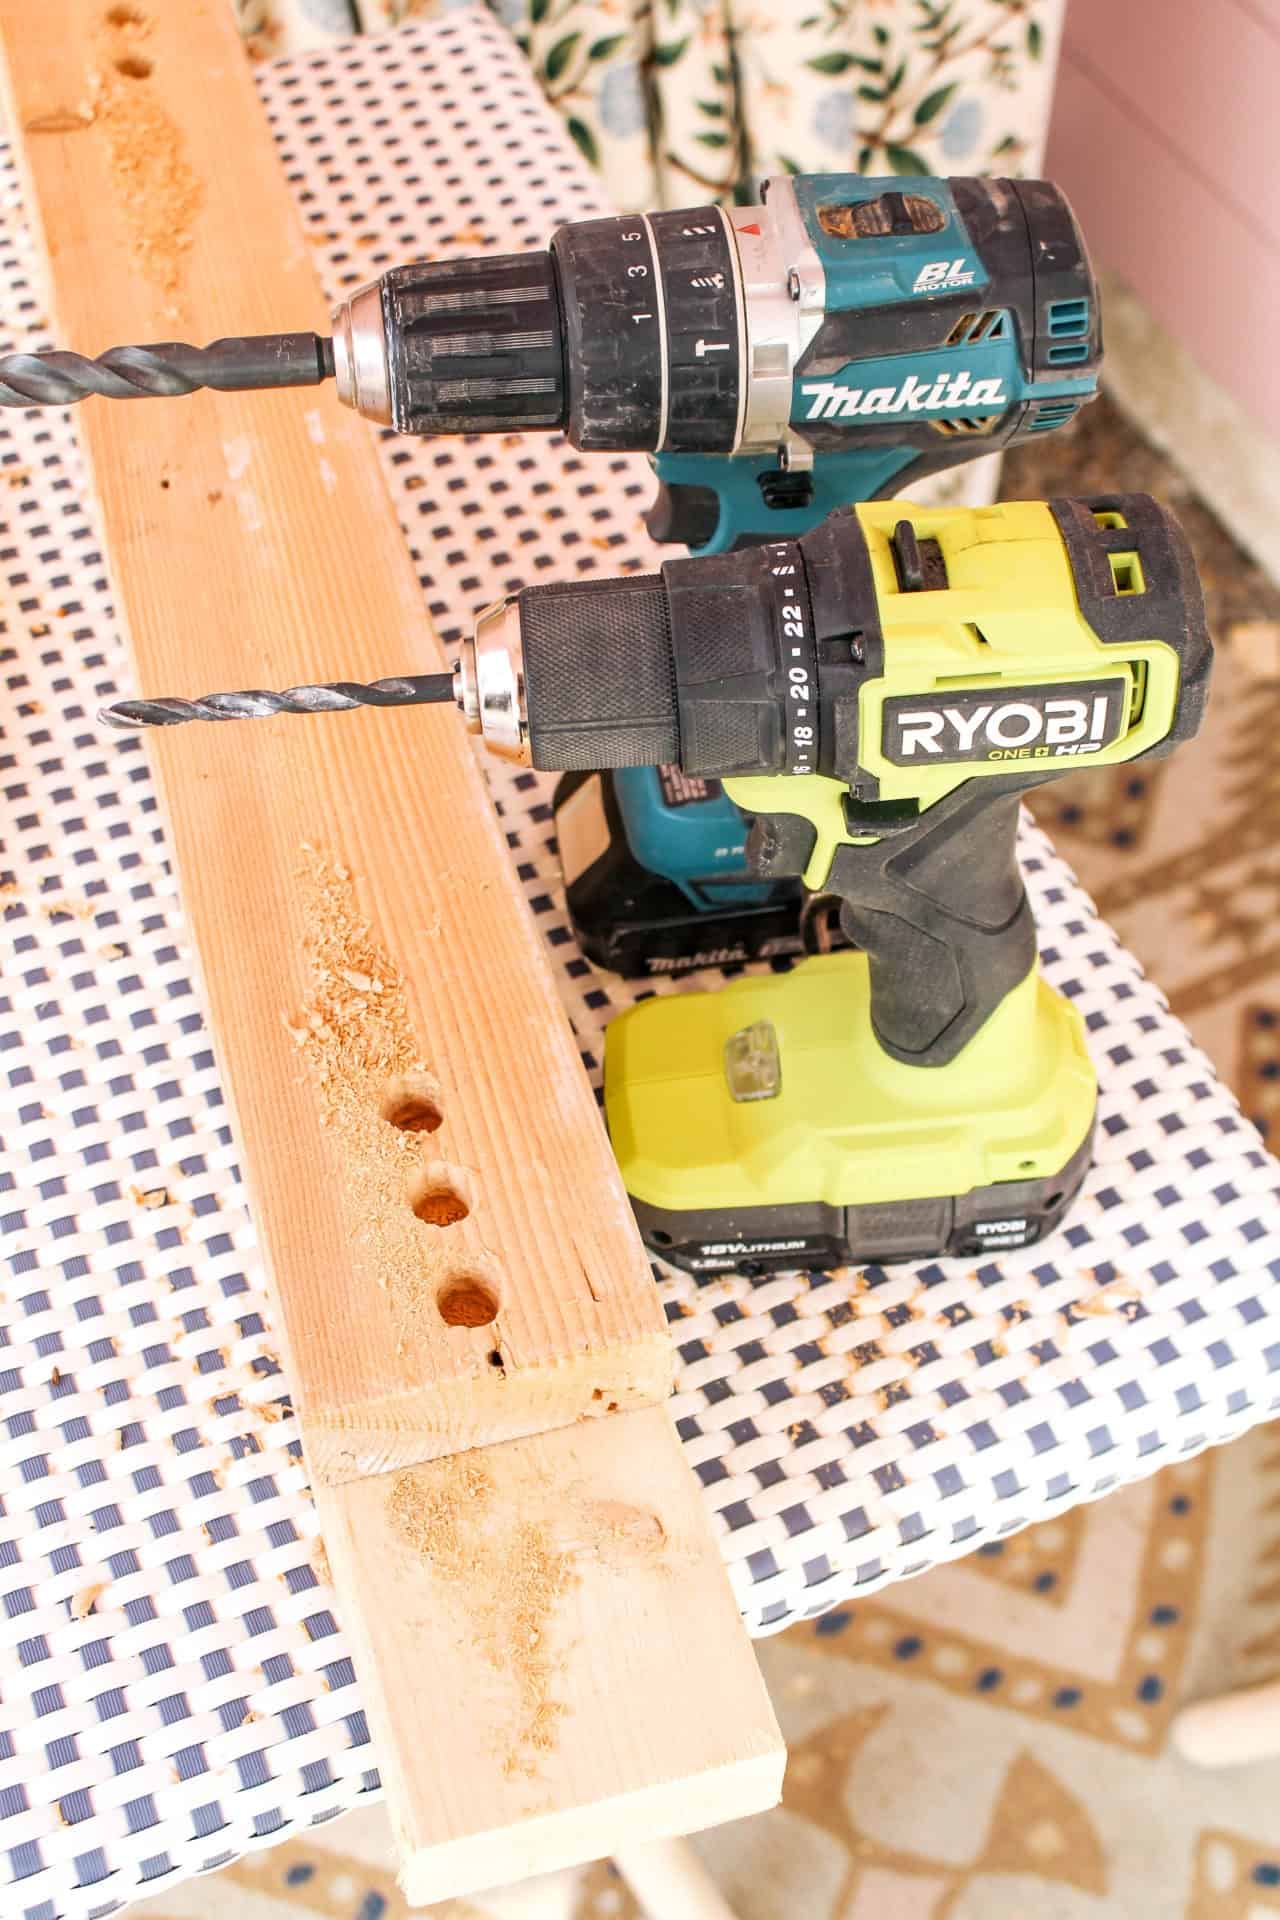
And now, drill holes in the wood base. This is where the pipes will sit. I drilled a pilot hole. Then, I used a 1/2″ drill bit to create a bigger hole. I had to wiggle the bit to make it big enough for the pipe (it’s a little bigger than 1/2″). Each hole is 1″ from the next hole.
step 4- paint the pipes

And now, it’s time to paint! Before painting, make SURE to prime, especially if covering the words on the pipe. The primer will help ensure that the paint will stick to the plastic.

Then, after waiting for the primer, spray on the colorful paint. This is the fun part! When spray painting, make sure to shake the can well (at least 30 seconds) before painting. Then, keep the can moving and do a few thin coats letting the paint dry between coats. The Colorshot paint had great coverage and I only needed two thin coats of paint for full coverage.
step 5- sand and assemble

Finally, sand the base piece of wood so it’s nice and smooth. If desired, paint it. I kept it a natural wood color.
Lastly, glue the dried pipes into the base. You can use hot glue or super glue. Let everything dry throughly.
after

here’s a link to the rainbow baby’s breath project
And here we are! My cutie rainbow. I think this would be so perfect in a nursery, girl’s bedroom, playroom, or you know, my she shed ;).

Aren’t the colors so bright and vibrant?! I love that I was able to make this for $8 in pipe. The spray paint makes it colorful and could be changed to any colors. It’s such a customizable project and makes me so happy to see! For around $45, you can buy all the supplies needed for this project. Which isn’t so bad since it makes a huge statement.

Mostly, I’m super happy that I was able to take my fail and make something that I really like! What do you think? Better than the Organ pipes?!
 Thank you to Colorshot for sponsoring this blog post! This post contains some affiliate links for your convenience. Click here to read my full disclosure policy.
If you love it, pin it!
I love it! Your ability to whip out mulitple DIY projects while working on a bathroom reno AND being a parent is insanely impressive!
dear precious Ashley 🙂 & precious family 🙂 & all the adorable rainbows! 🙂 oh how wonderful to hear from you! 🙂 We were all wondering where you all were & we’re all so happy you’re back! 🙂 The lil PVC < stands for "Precious & Very Cute" rainbow ~ is so adorable & bright & cheerful 🙂 ~ as are the darling lil pumpkins! We too only love pastels for all the seasons & those paint colors just may be the best yet~ i love them! Very adorable 🙂 It's wonderful to have you 🙂 & all the cheerful lil rainbows & darling family back! 🙂 With love from all of us 🙂
So adorable! I love how this rainbow turned out!