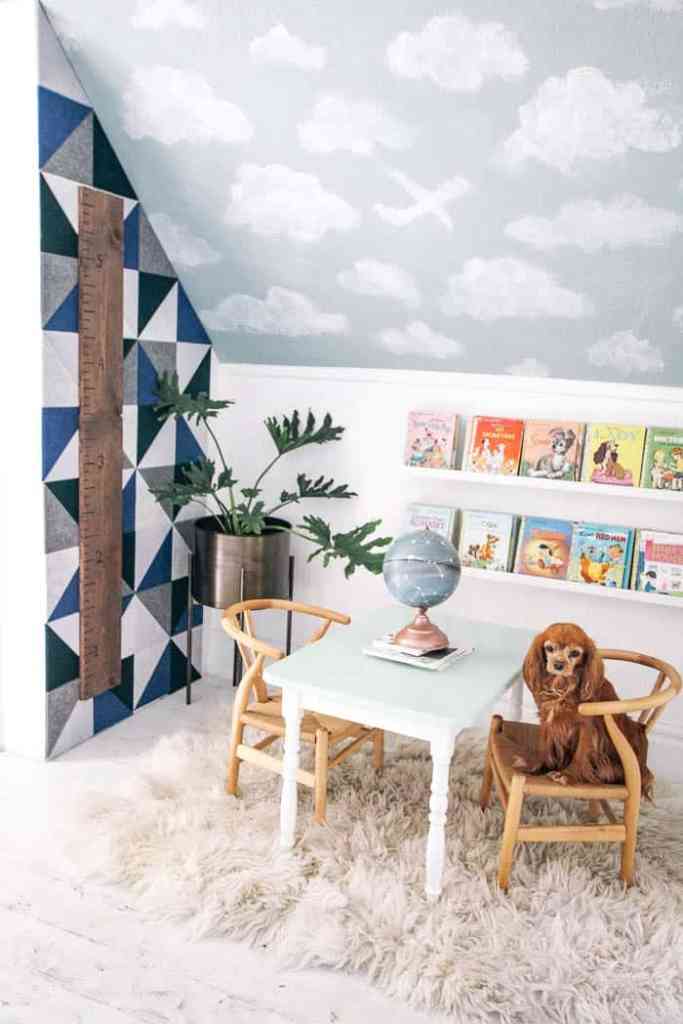
It’s been awhile since I’ve done an accent wall, so I figured the wall in my son Don’s room that was a mess would be a perfect place to work on! For this wall, I did a DIY felt triangle accent wall. Here’s how it started out-
I love kid art, but it was a mess. Plus, with the school year being over with, it was the perfect excuse to purge the excess. So I pulled everything down and saved the cutest ones from his first school year. Side note, it was very impressive how much better he got at coloring! He can write his name now and it makes my mom heart just burst.
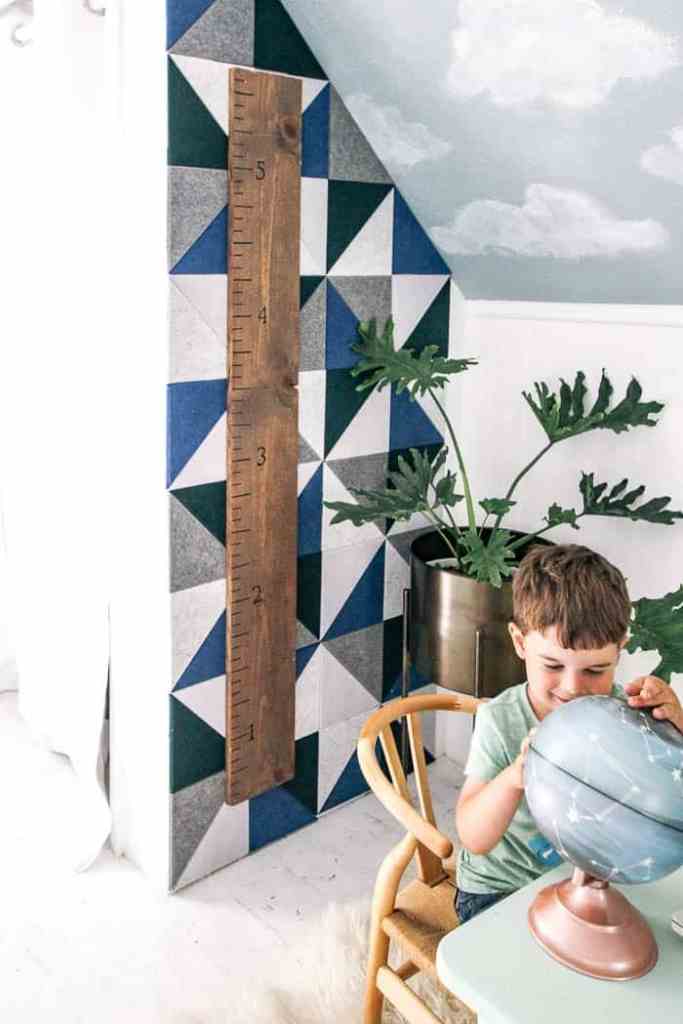
The only thing on this wall I wanted to keep in the measuring stick. I made it before Don was born and have used it since then. This is the only wall it works on in here, so I happily kept it here.
how to make a DIY felt triangle accent wall
Let’s start with the video tutorial so you get an overview on what I did. Then, I’ll dive in with more details below:
If the video doesn’t work here, you can watch it on YouTube here. P.s. I’m trying to build that page up, so if you’d subscribe, I’d really appreciate that!SUPPLIES
- 1 criss cross box of Sola felt wall tiles in admiral blue, armor light weathered grey, hunter green, nickel marbled grey, and moon pale grey.
- Heavy duty scissors. If you’re going to cut these, you need good scissors.
For this project, the main material are the Sola wall felt tiles by 3 Form. They’re super thick and would be great as a pin board. I love that I can keep putting art here! The felt tiles would be a beautiful pin board too. I also like that they dampen sound too. Here’s the colors and patterns they come in-

Probably my favorite thing about the felt tiles is that they made from 50% post consumer recycled plastic! Here’s how I put together the accent wall-
step 1
Start by clearing off the wall. After this photo, I also took down the hooks and relocated them inside the closet. We weren’t using the hats with them here so that made sense (and cleaned up the cluttered look).
step 2
Next, I started cutting the Sola felt wall tiles into triangles. I cut them on the embossed lines. This isn’t a requirement, but it’s the look I was going for. It added a bunch of time, since they are thick and harder to cut, so make to take that into consideration. And if you cut the tiles, make sure to use heavy duty scissors.
step 3
And now, simply peel the paper off the adhesive backing and stick the triangles on the wall. I mixed up the colors to create a variated look. I tried to not have the same colors next to each other. It was fun to come up with the pattern as I went.
Note, I unscrewed the ruler off the wall and just screwed it back right where it was over the tile. That way I didn’t have to cut the tiles to go around the ruler.
after

Here it is all installed! I do have to say that the felt adds some coziness to this corner!

I also really like how it feels like a quilt on the walls with the geometric pattern.

The colors work perfectly in the room and it feels like a natural addition to the space.
Alright! There you have it! A cute triangle little accent wall! I like the idea of looking around and finding a spot that isn’t working, even a small one, and finding a fun and unique way to fix it.
 Thank you 3 Form Home for sponsoring this post! This post contains some affiliate links for your convenience. Click here to read my full disclosure policy.
If you love it, pin it!
[…] DIY Felt Triangle Accent Wall from at Home with Ashley IG: @athomewithashley […]