
It’s warming up outside and so it’s no longer “wear as big of a sweater as possible” season. I’m excited to have fun with fashion and layering on dresses! I’m loving the current trend of detachable statement collars- they add a fun element to outfits. So I thought I’d make a few. These are so easy to make so I thought I’d share how to make a ruffle collar.
I have a step by step tutorial for you including a video that should be helpful to show exactly how to make the ruffle collar. At the end I’ll show some outfit ideas if you like this look but aren’t quite sure how to create the layered look. Let’s get started!
how to make a ruffle collar
We’ll begin with the video tutorial so you get an overview on what I did. Then, I’ll dive in with more details below:
If the video doesn’t work here, you can watch it on YouTube here. I’d be so happy if you subscribed to my YouTube channel! Videos are actually released on YouTube first (usually the night before they’re published on the blog). Thank you!
SUPPLIES

- 2/3 yard of fabric per collar
- Pattern
- Matching Thread
- Sewing Machine
- Sewing Scissors
- Scotch Tape (to tape the pattern pieces together)
- Sew-on Snaps (or any way to close the collar)
- Pinking Shears (optional- used on seams to remove bulk)
- Sewing Marking Pen (optional- used to mark the notches in the pattern)
- Rotary Knife (optional- used to cut the ruffle)
- Rotary Mat and Acrylic Ruler (optional- used to cut the ruffle)

The pattern costs $10 and includes three variations- sailor, pilgrim, and Peter Pan. I’ll show all three! Then I sent it to FedEx office to be printed for $3. Besides the pattern, all I needed to buy was fabric. I used some fabric I had on hand and then I spend $7 each for two different types of fabric. In total I spent $27 on this project.
step 1- pattern

Start by printing the pattern. I printed mine at FedEx office. To order the print, I just go to their website and upload the pattern then pick it up from my local store when I get the email that it’s ready. I had that printed on letter size copy paper. This pattern includes 3 different collar patterns in a variety of sizes from toddler to adult size large.

p.s. how cute would it be to make matching collars with your child?!

Once the pattern is printed, cut it out. I used scissors to cut out the pattern in size medium. Then I used tape to connect the pieces of each pattern together. I cut out all three patterns and will show how they all look slightly different at the bottom. Putting them together is the same for all three.
step 2- cut the fabric

Next, it’s time to cut the fabric to create the pieces for the collar. I like to use a rotary knife, mat, and acrylic ruler to cut the rectangle pieces for the ruffle first.

I cut the ruffle 3″ wide and cut two the length of the fabric. For wider fabrics, this will make for more of a thicker ruffle. The more gathered the ruffle is, the cuter it is in my opinion! Note, if ruffles aren’t your look, you can leave them off. That will make this project much quicker!

To cut the fabric for the ruffles, line it up so the cutting edge is straight on the rotary mat. Then put the acrylic ruler over the fabric and line it up 3″ over. Last, push the rotary knife over the fabric making sure to have one hand on the ruler keeping it in place and one hand on the rotary knife pushing it against the ruler.

Now that the ruffles are cut, on to the collar. First up, pin the pattern piece to the fabric or use pattern weights to hold the pattern onto the fabric. Make sure to fold the fabric over and line up the pattern on the fold where the pattern shows.

Use fabric scissors to cut out the pattern. On the notches you can cut those out or use a sewing marker to mark those areas. Either works great. The markings will show where to stop sewing on the collar so it can be turned right sides out.

Remove the pins and you can see the first glimpse for how cute the collar will be!

Make sure to cut two pieces of the collar. One for the front, one for the back. This project can be easily customized by using different fabric on the back or on the ruffle. I like the look of all three the same, but you do you!
step 3- create the ruffle strip

And now, sew the ruffle strips together to make one long strip. Do this by putting rights sides of the fabric together and sewing a seam with a straight line.

Cut the fabric on the edge of the seam with pinking shears. This will help the seam disappear later when the ruffle is gathered.

With the right sides together, fold the frill in half and stitch a straight line down both ends. This creates the clean ends of the finished ruffle strips.

Use pinking shears to trim away any excess fabric so it’ll lay flat with less bulk.

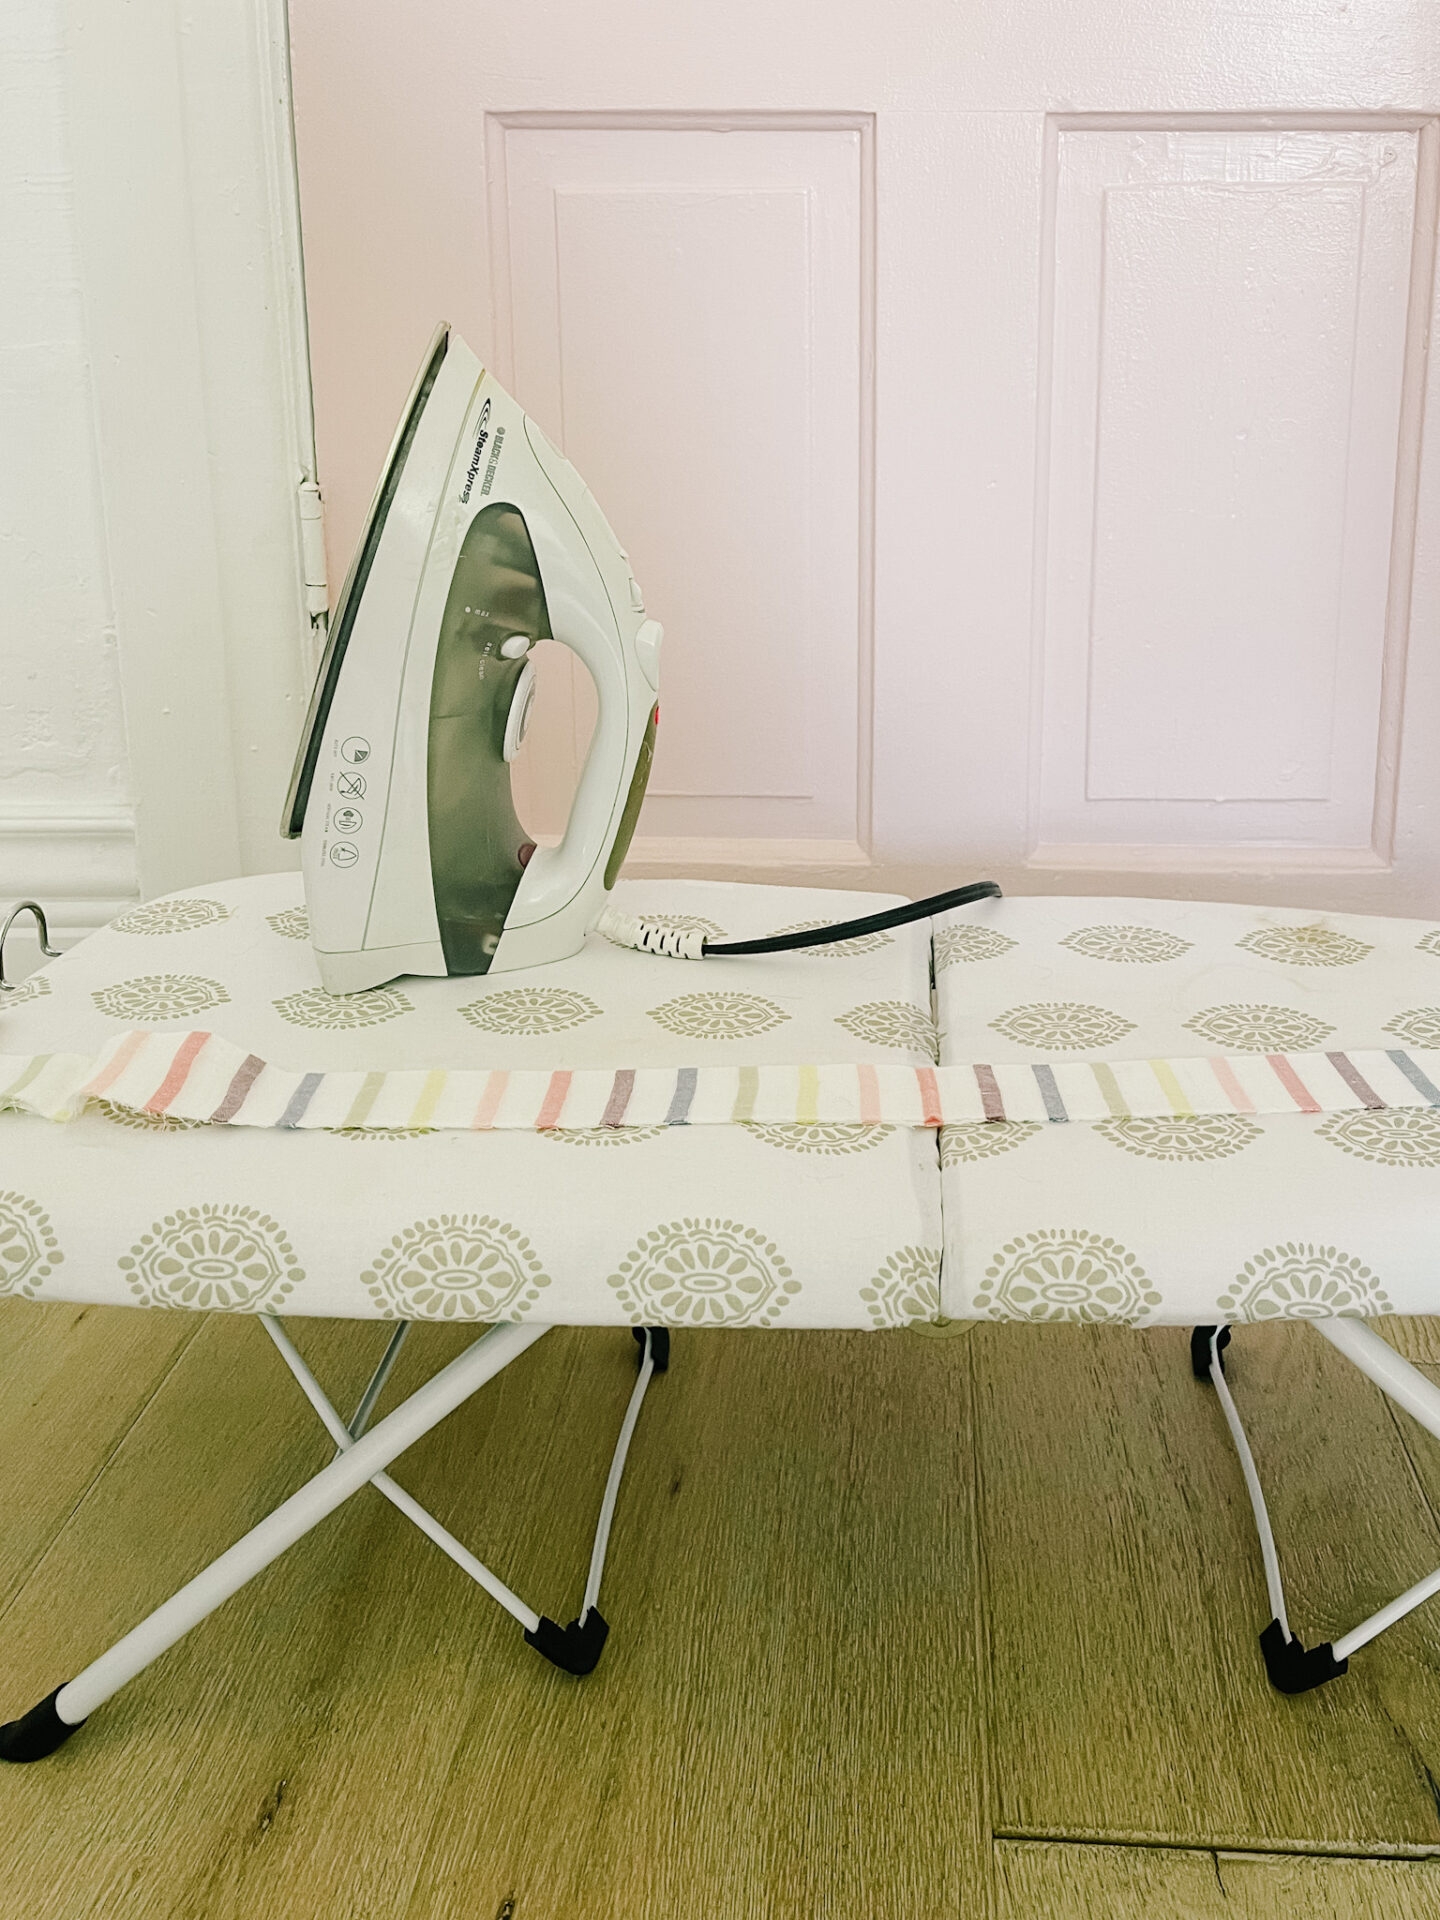
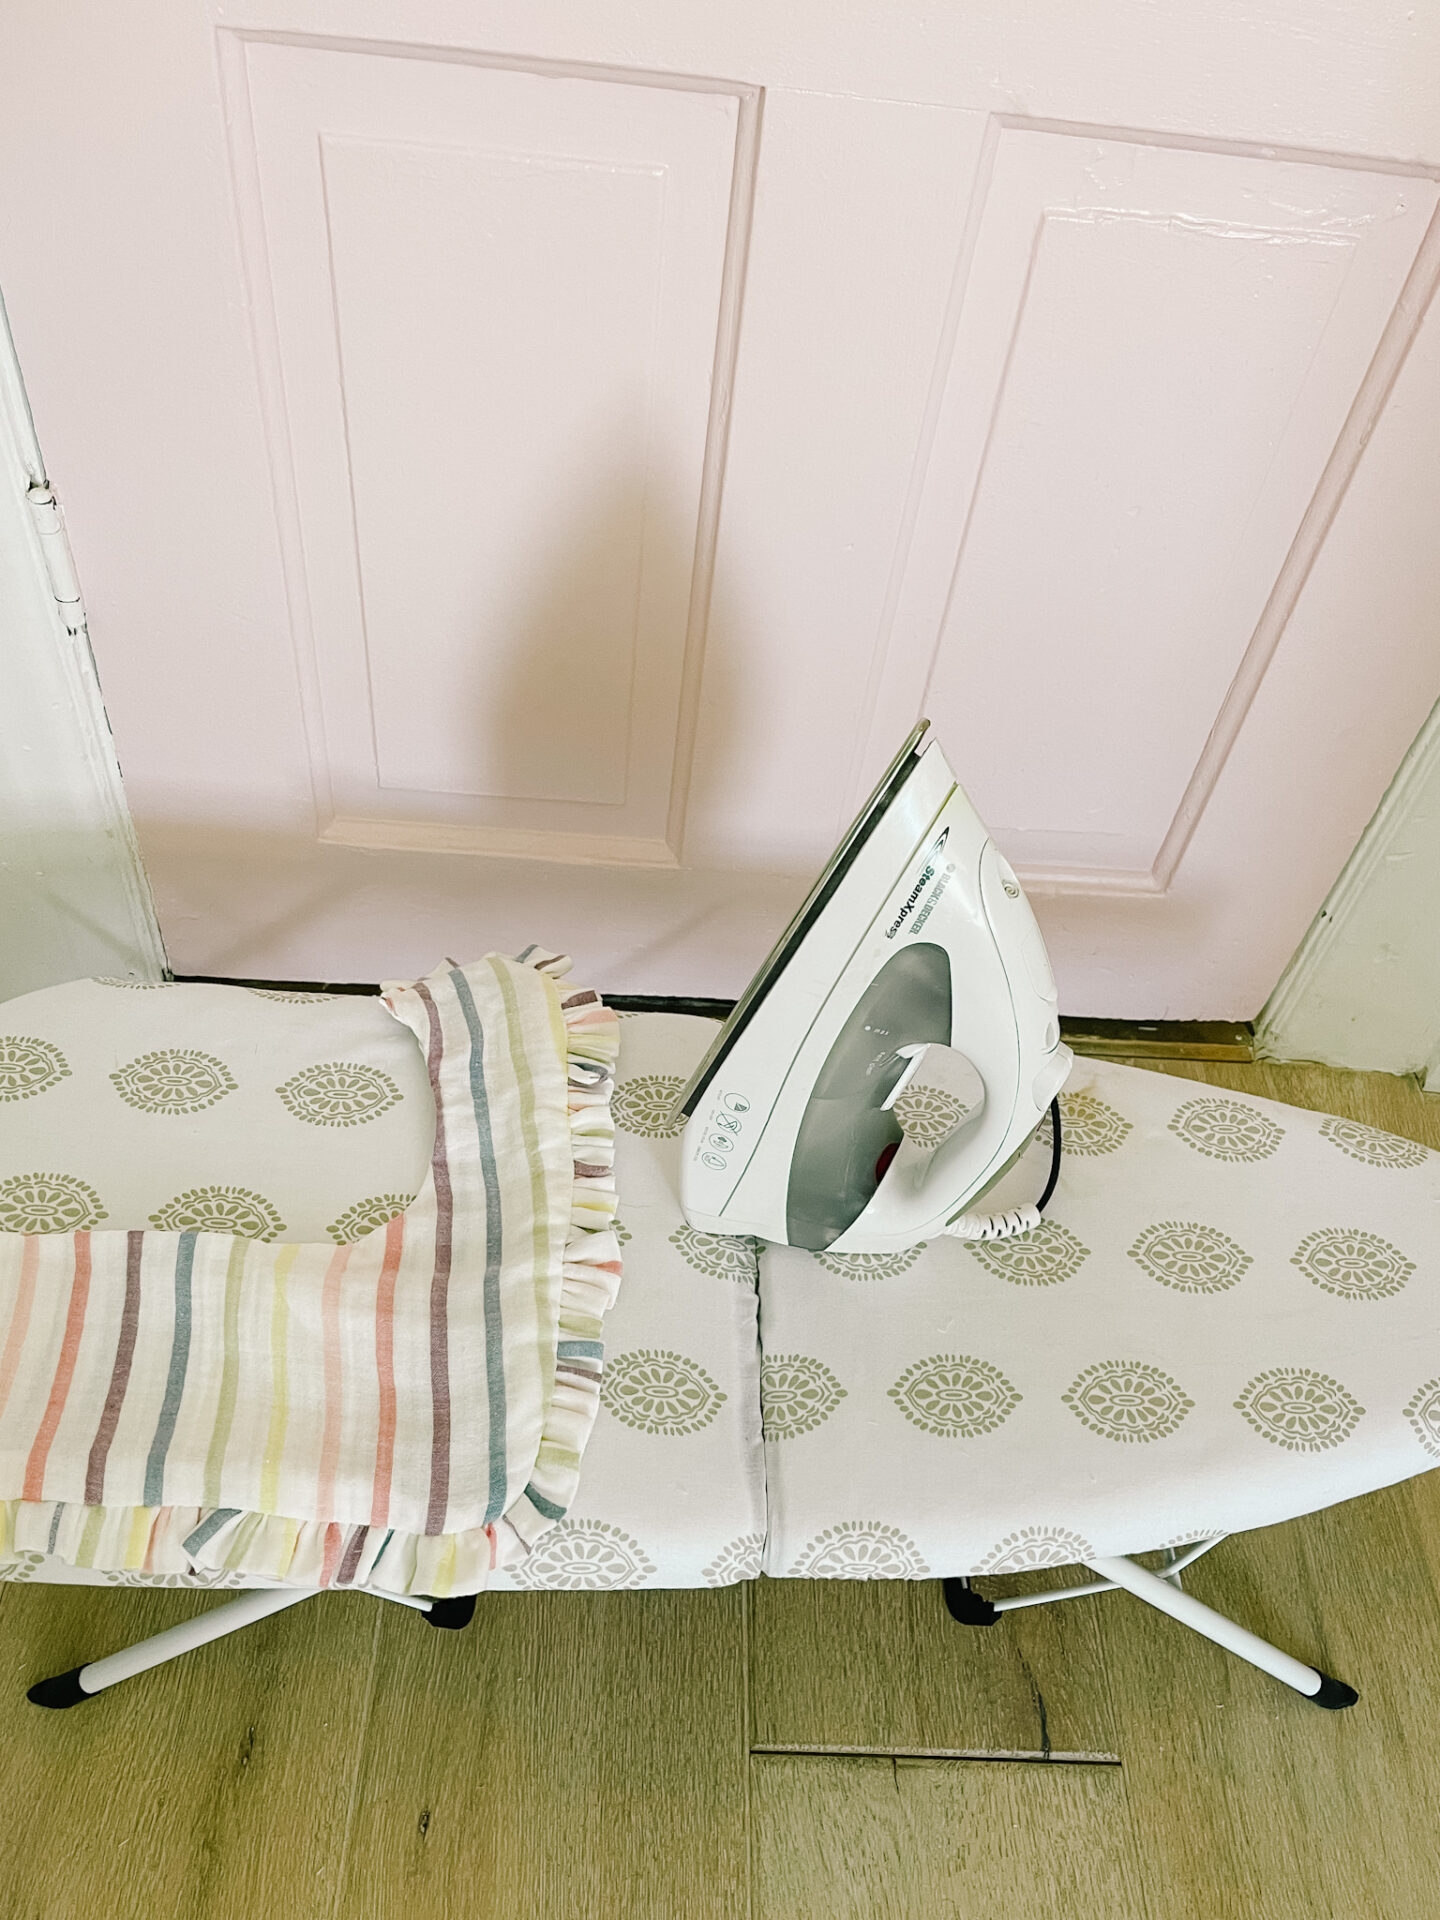
Put right sides out and iron the strip in half.
Next, sew gathering stitches. Make sure to increase the stitch length on the sewing ma hint (I put my stitch length at 5. Each machine will differ though). Next, sew two rows of gathering stitches on the raw edge of the ruffle strip (I make the first one with 3/8″ seam allowance and the second one with 1/4″ seam allowance). Also, make sure to have a long string of thread before and after both rounds of stitching. Don’t backstitch.

Now, mark the middle of the frill. If there’s a seam in the middle, that’ll work as well.

Then start gathering the fabric by pulling on the top two threads on one end of the ruffle strip. As you pull and gather the ruffle, lay the frill on the collar to make sure you don’t over gather the fabric. Evenly distributed the gathers while making sure it’s the correct length.


step 4- sew the collar

With the gathered frill, start pinning it onto one piece of the collar. To do this, lay the collar piece on a flat surface with the right side up. Then match the raw edge of the frill with the outer edge of the collar. This will seem backwards to how the frill will eventually lay, but this is how to sew it in place for a pretty finish. Pin the frill onto the collar piece.

Next, take the second collar piece and put it on top with the right side down. This is a sandwich with the collar pieces as the bread and the frill as the jelly. Pin all three pieces together.

Now it’s time to stitch the collar. Start at the notch mark in the neck and work your way around. Note, make sure to stitch a greater seam allowance than you stitched the gathers in the ruffle. If you don’t, you’ll see the stitches from the gather.

Trim away excess fabric at the curves and corners with pinking shears to reduce bulk in those areas.

Turn the collar inside out. Make sure the front of the collar is nicely turned out. This is an exciting step because you finally get to see the collar in one piece! Sometimes strings from the fringe make their way in. Trim any of those if needed.

Iron the collar so it lays flat. While ironing, tuck the seam allowance from the un-sewn neck area inside the collar. Don’t iron the fringe or the ruffles will go flat.
Top stitch the opening in the neck so that it is closed. Note, you won’t really see that stitch unless you have shorter hair or your hair is up. You could also topstitch around the entire neckline and/or the outer collar if a uniform stitch is desired.

And finally, sew on a snap at the top front of the collar to close the collar and keep it on.

how long do they take to make?
To make the ruffle collar takes about 1 hour and 40 minutes per collar.
I timed myself making this- lol. Here’s the breakdown- 11 minutes cutting the ruffle, 12 minutes cutting the pattern, 5 minutes sewing strip, 4 minutes ironing, 9 minutes gathering stitches, 22 minutes gathering, 7 minutes pinning, 5 minutes pinning top collar piece, 10 minutes sewing, 3 minutes turning it right side out, 2 minutes trimming thread, 2 minutes ironing, 1 minute sewing, and 7 minutes snap.
after

How fun are these collars?! I love them because they’re fast to make, are so cute, and the customization options are endless! You can do them in any color of the rainbow, contrast the fringe, and make one custom for outfits that need just a little something extra.
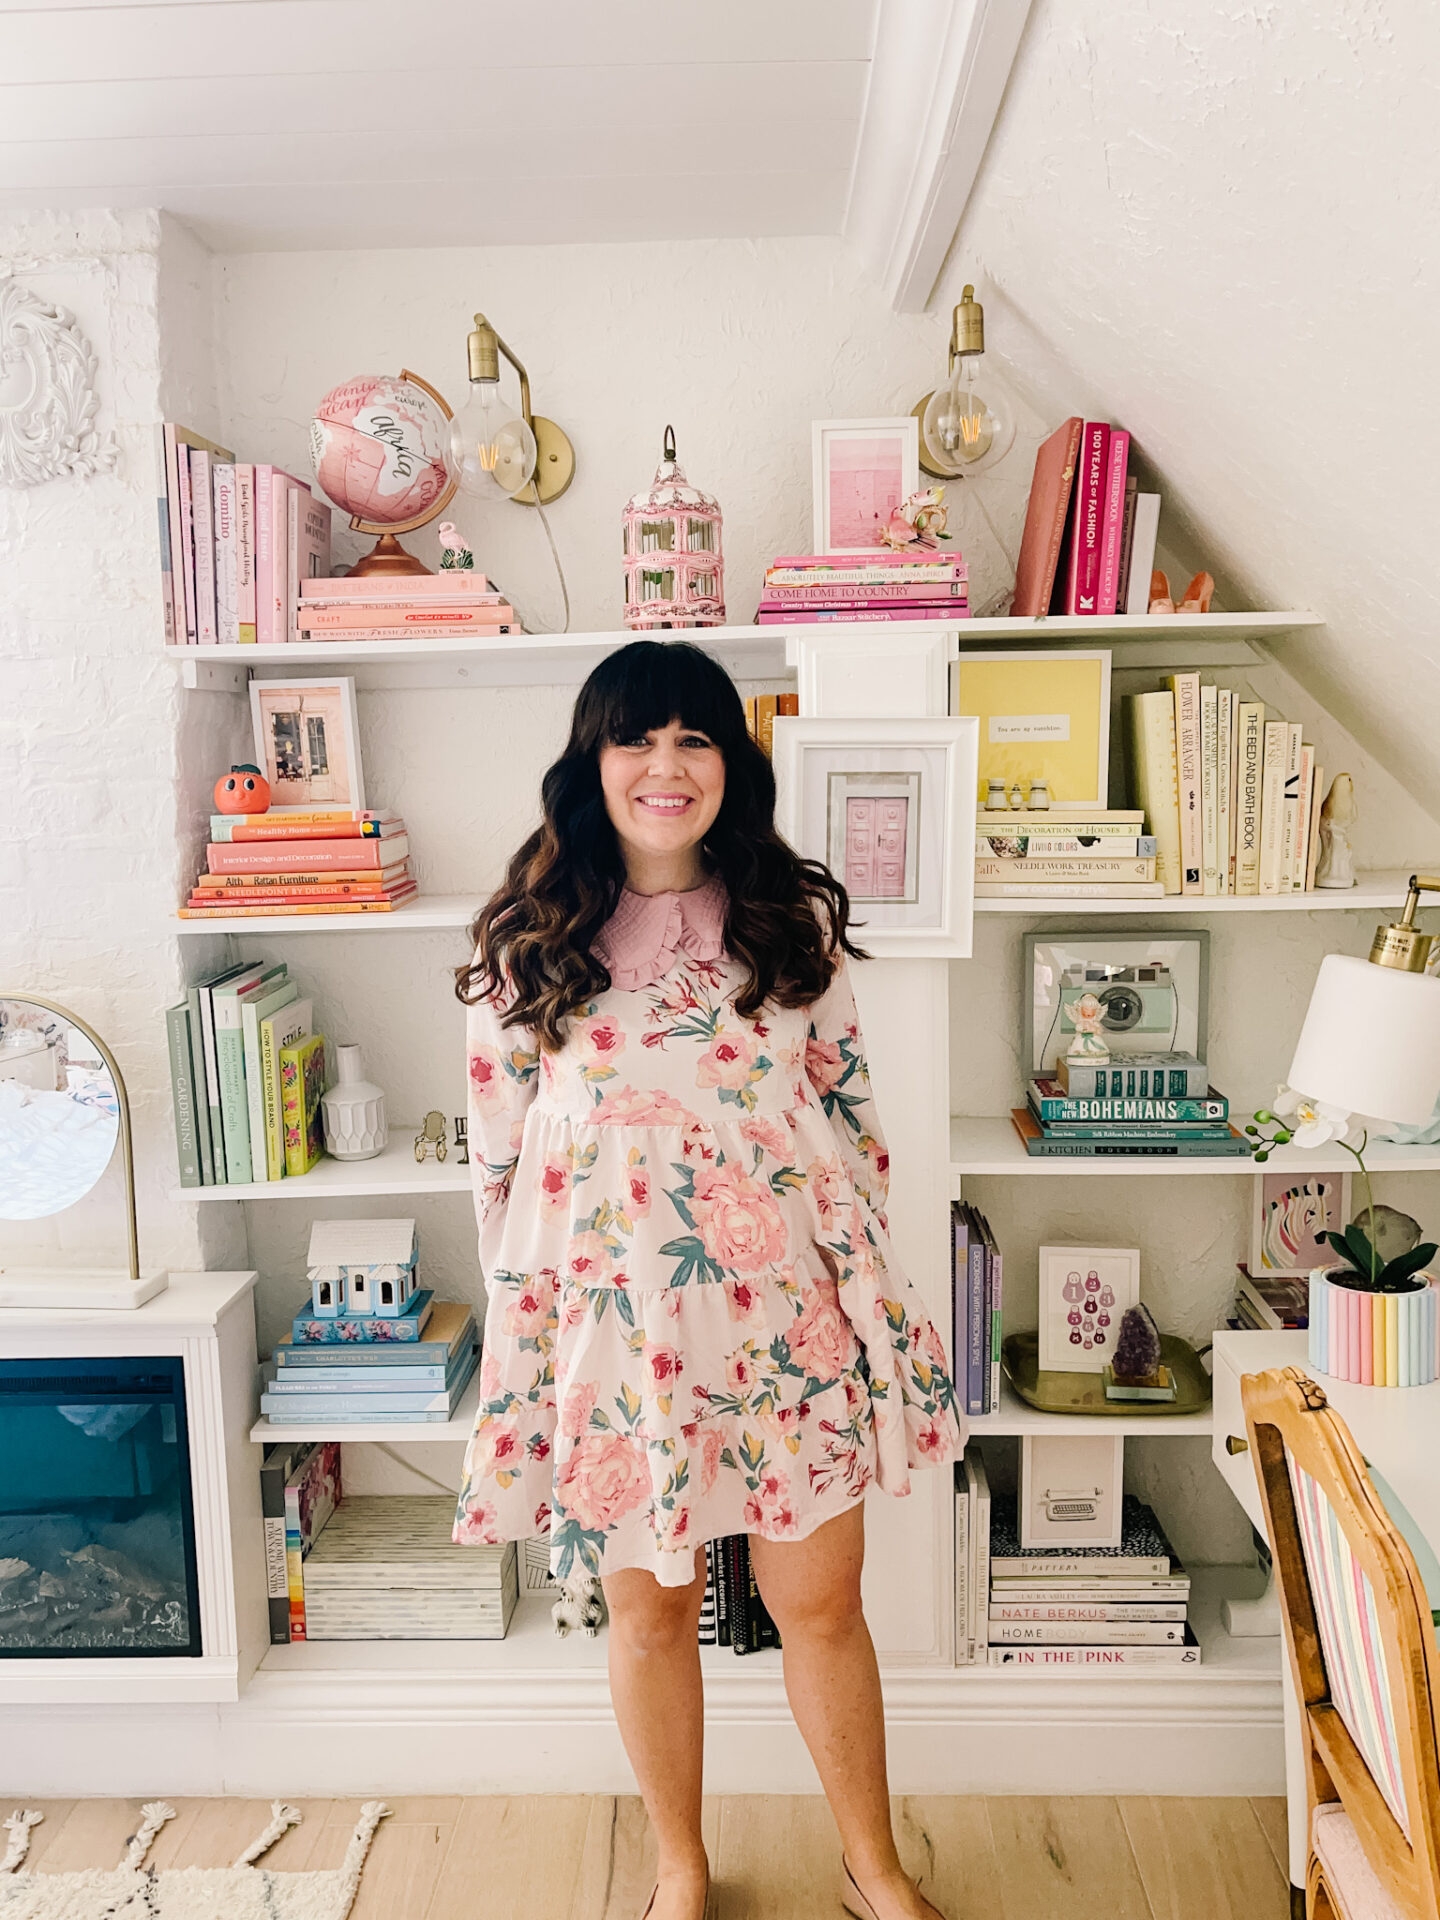
I tried on a few outfits to show how the collars can easily be layered. I wear lots of pattern so I think the plain ones will get lots of use! This is the sailor collar.

The collar definitely adds a lot of personality to a plain outfit! This is the Peter Pan collar.
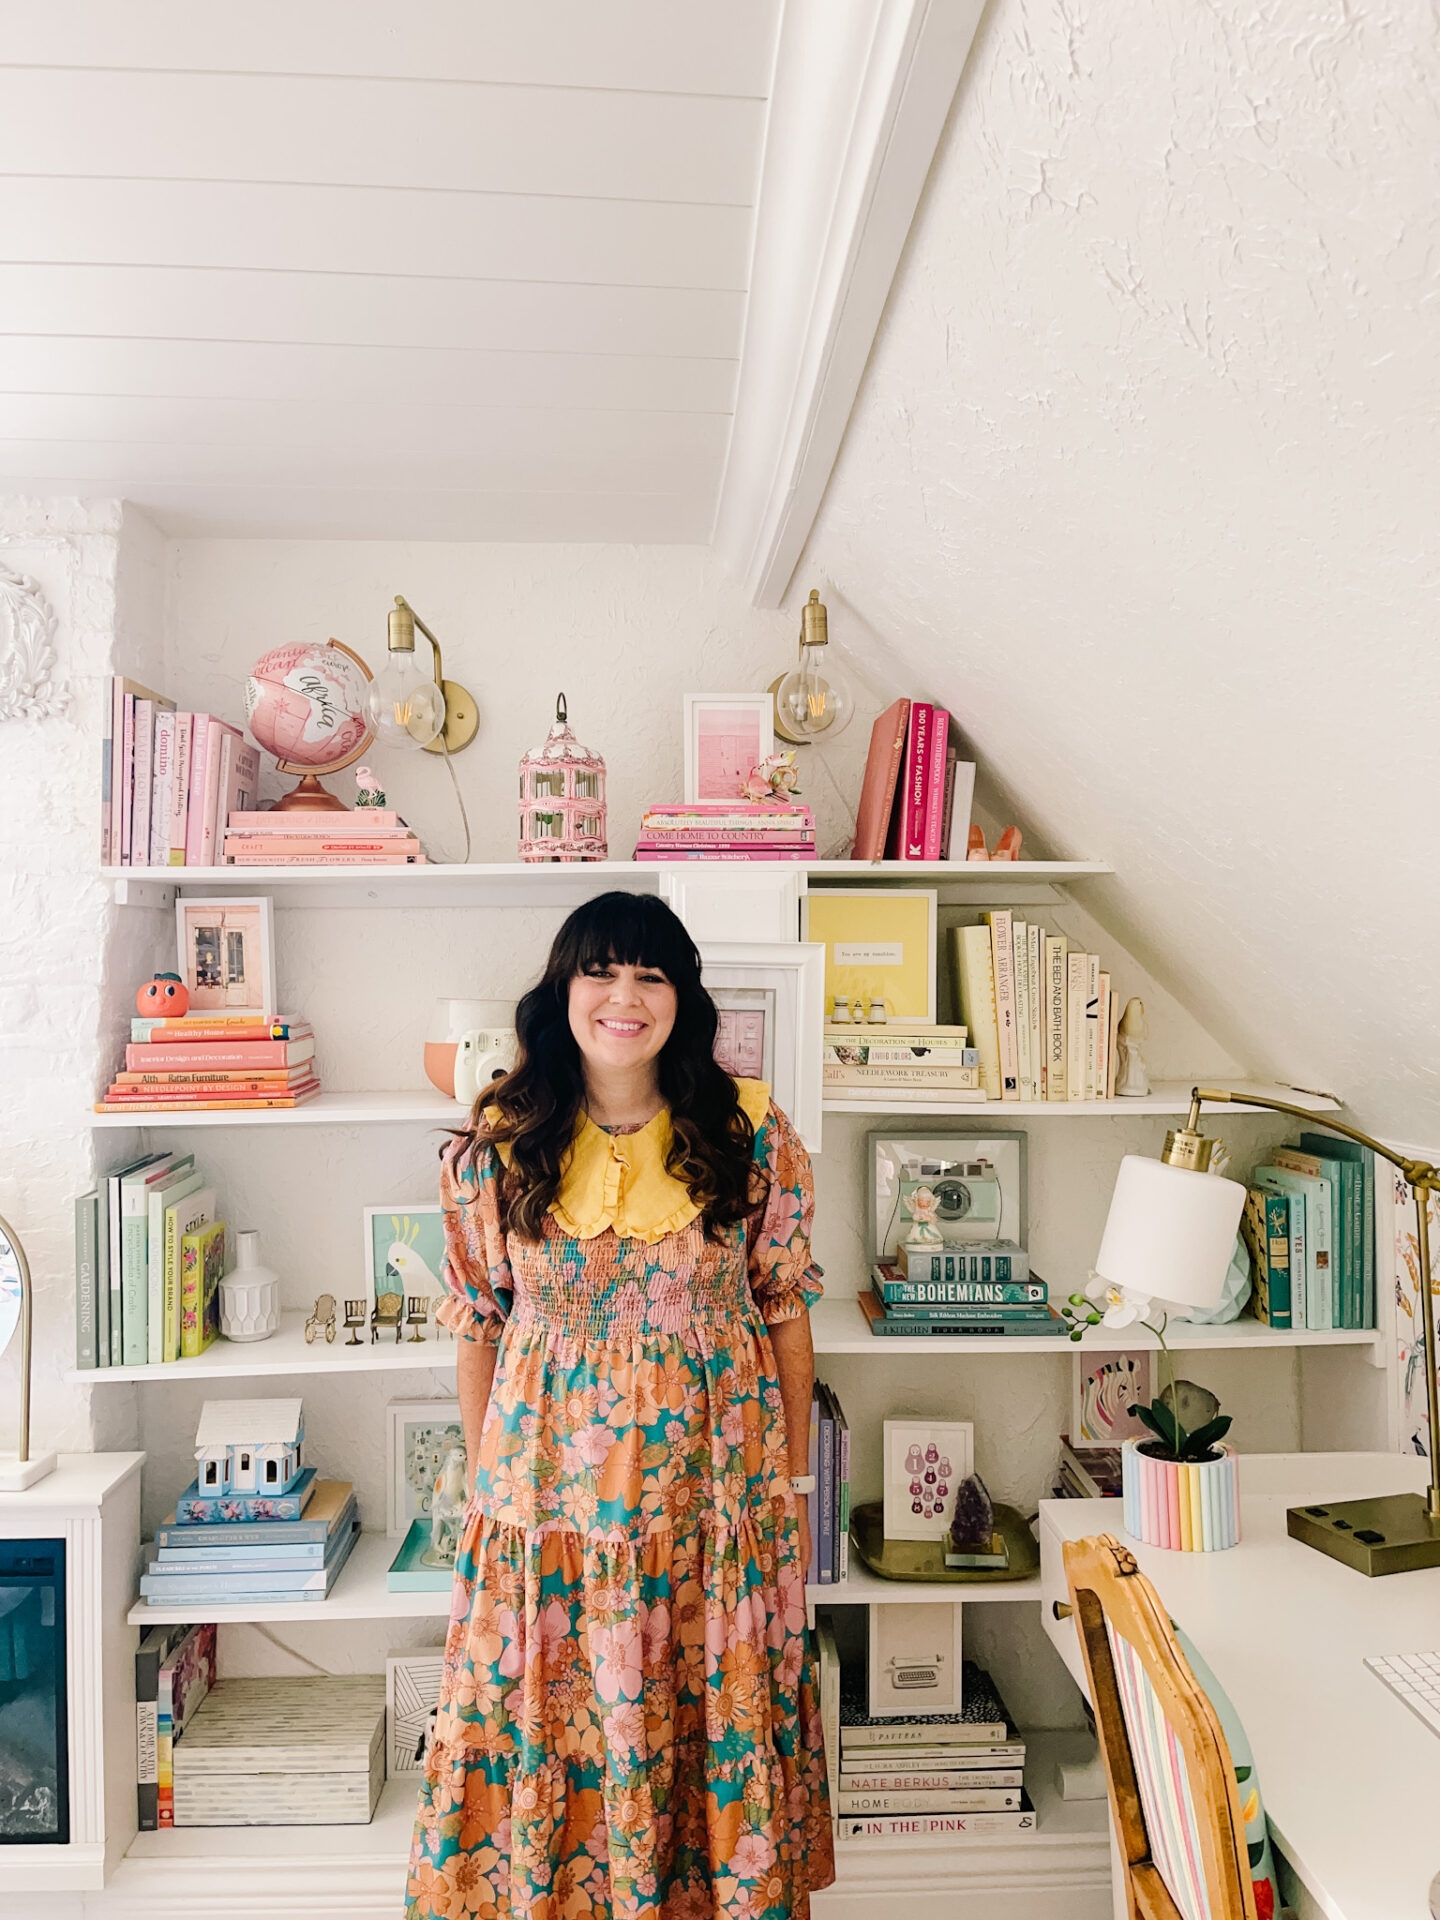
And last, here’s how the pilgrim collar looks with a maxi dress.
Aren’t these fun? Would you make one? I consider myself a beginner sewist and found these pretty easy. I promise you can make these too!
 This post contains some affiliate links for your convenience. Click here to read my full disclosure policy.
If you love it, pin it!

