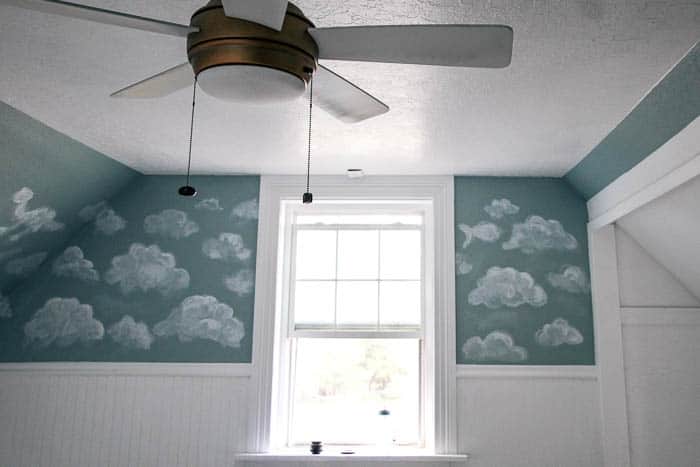
 I’ve been doing A LOT of work on Don’s room! If you remember, the loose theme for his room is Toy Story (to look like Andy’s bedroom). I’m being inspired by that space and interpreting it for 2018. Which, for me, means clouds on the wall, but fluffier less precise clouds.
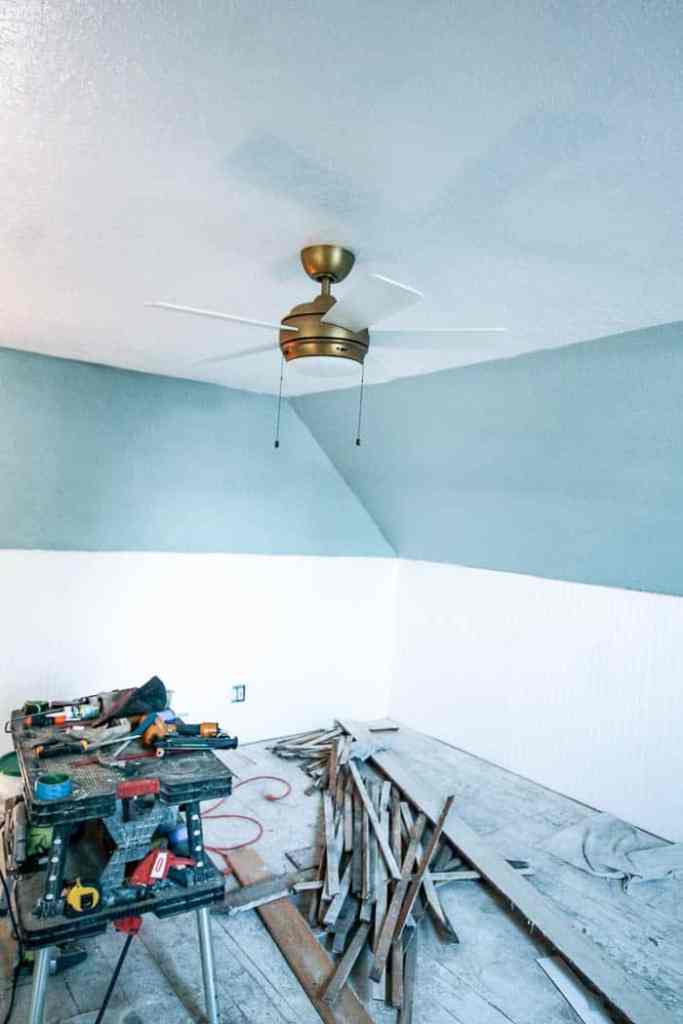
  At this point in Don’s room, we’d installed the beadboard and painted it Ultra Pure White by Behr, but the navy blue still needed to be painted over. A few weeks ago, I grabbed a bunch of paint samples and took them into the room and narrowed them down to 9. Next, I let Don choose his favorite- he wanted the most green option (his favorite color). And so, we ended up with Watery by Behr.

Here is the paint in two different times of day- its a beautiful blue/green/grey color that is perfect for a bedroom. I choose to go with Behr’s Marquee paint (the more expensive option). And honestly, I was so impressed. It covered the navy blue walls in one coat of paint. This painting project was so fast and painless!!! It was worth the few dollars extra to only have to do one coat. Next, I started on the clouds. Can I be tell you that I was a little nervous about this?! I had an idea in my head how I wanted the clouds to look, but wasn’t 100% sure how to execute it. I am THRILLED with how it turned out, so I wanted to sure the process of how I painted the clouds.
how to paint a cloud mural
Supplies
- Watery by Behr (wall color)
- Ultra Pure White by Behr (cloud color)
- Rag
- Paint Brush
- Painting Cup
- Stencil Film (I got the 12″x18″ size)
- Painter’s Tape
step 1- cut your stencil
With a pencil, I sketched out a cloud shape with a pencil. I then used scissors to cut out the shape. To put it on the wall, I used painters tape. These four pieces of tape lasted for the whole room! You can buy pre-made cloud stencils, but I couldn’t find a large scale one, so I made my own.
step 2- paint the cloud
In my paint cup, I mixed water and paint- about 75% paint for 25% water. I had to mess with the consistency because at first it was too runny and it dripped down the wall. Use your paint brush and paint inside the stencil
step 3- remove stencil and dab with rag
Next, you’re going to remove the stencil. The paint will be super wet- just dab it with the rag to lighten it up even more. You can even use the rag to smudge out the paint to slightly change the shape of the cloud so you have a nice variety on the wall.
step 4- accent the cloud with white paint
Now, you’re going to go in and add more white paint with your paint brush. Just add a little hear and there so the cloud had a good variation of light and dark areas. I liked looking at picture of clouds to be inspired as I painted them.
Side note, I also went through and free handed the smaller clouds so there was a good variation. If this makes you uncomfortable, you can buy multiple sized stencil film. Once you get the hang of it, it is fun and I promise you that you can do it!
cloud animal shapes
While painting, I got the idea to paint a few cloud animal shapes on the wall. I LOVE the idea of Don laying in bed and trying to spot different animals. Can you spot the dinosaur above?!
Here’s the dinosaur again on the left and a fish on the right.

For this wall, I have the cloud bunny (my favorite)!

Don begged for a garbage truck cloud, so I obliged (I was nervous for this one). I also put up a heart.
 Lastly, I did an airplane and a duck. I had SO much fun adding these in! While I was painting, I asked my Instagram story viewers what I should add. Here are a few other ideas in case you want to try these!
- Alligator
- Giraffe
- Elephant
- Whale
- Teddy Bear
- Sheep
- Bird
- Dog
- Lion
- Mickey Mouse
- Butterfly
- Dragon
- Turtle
- Rhino
One tip I have for painting these is to Google “turtle shaped cloud” and see if anything good comes up. For most of mine, I was able to find actual pictures of clouds that looked like they were shaped like the animal and copy it (here’s an example).
after

bed / nightstand / globe / art / sconces
I thought I would leave you with a sneak peek of how Don’s room turned out!!! I still have a few finishing touches I need to do, but I’m so, so pleased with how its come together!
 Thank you to Behr Paint for supplying the paint for this post! All opinions are my own. This post contains some affiliate links for your convenience. Click here to read my full disclosure policy.
Want to remember this? Pin this to your favorite Pinterest board!