
before- with wallpaper
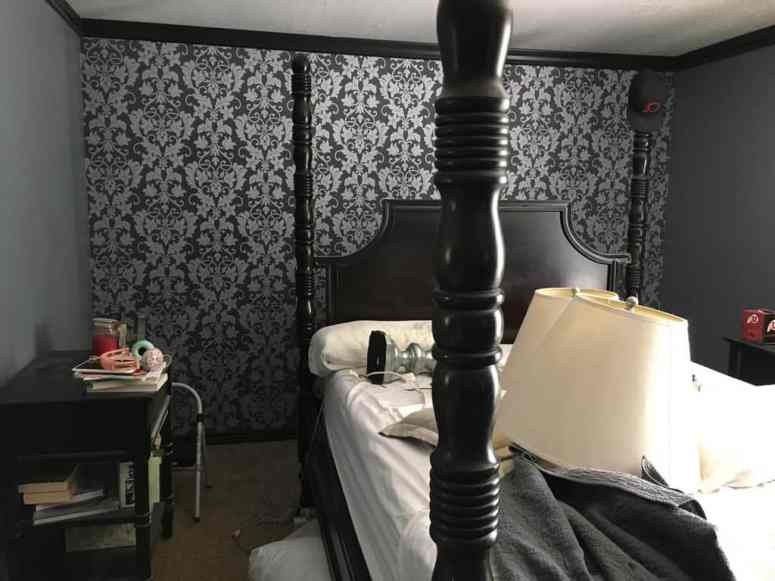
Back in September of 2015 I started this blog and the first thing I did was do a tour of my house. My bedroom was made over in 2009- crown molding, wallpaper, drapes. We loved it!
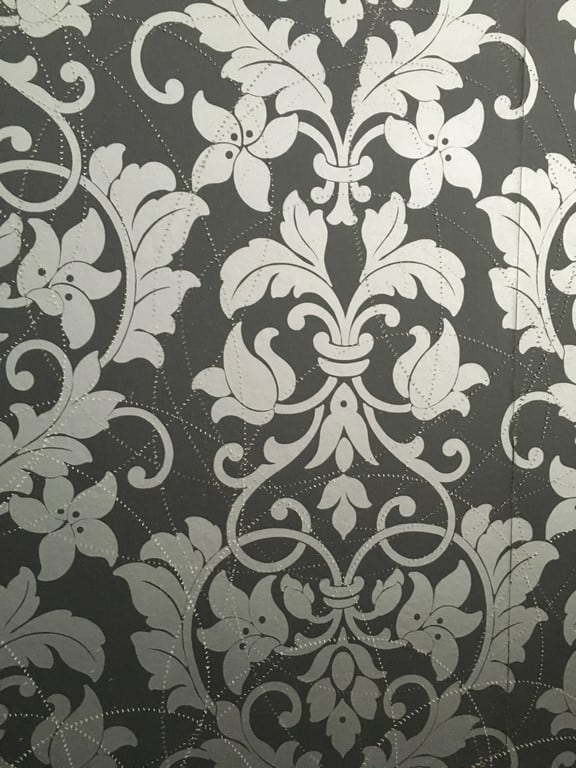
As time has gone on, I’ve gotten sick of the wallpaper. It was a labor of love to put it up (my mom helped me do it one day), but I avoid taking pictures of this room because it is so dark. We added the settee a few years ago and everything feels so grey- too grey!

I have a photo shoot coming up and want pictures in my bedroom. I have decided to rip off the band-aid! Even though I am emotionally tied to the wallpaper and feel a little sad at taking it down, it’s time for it to go. Is anyone else this way? A deadline is such a good way to get things done!

the plan
So here is my plan of action:
move the furniture away from the wall
 First up, I moved all furniture away from the wall. I, of course, decided to do this while my husband was at work so I used these furniture movers to slide the bed out. They totally work and there is no way I could have moved the bed without them!
score the walls


After the furniture was out of the way, I took a wallpaper scoring tool (less than $7 on Amazon) and made small holes through the paper.
Here’s the backstory on this tool- in 1998 my family moved into a new house covered in wallpaper. My mom bought the scoring tool and we used it throughout the house to take down the dated wallpaper. My mom still had it so I borrowed it! So if you are taking down wallpaper, I highly recommend it! Who knows, you might use it for 20 years 😉

prep for the paper to come down
Next I am prepped the floors by laying down towels, taking off outlet covers, and covering the outlets with tape (no electrocution please)! The paste and water create quite the mess, so don’t skip this step. Have a garbage bag handy for the paper you remove.
make a solution for softening the glue

 Next, soak the wallpaper with 4 cups of hot water and 1/3 cup of vinegar. I put the mixture in a spray bottle (I got mine for $1 at the dollar store). The water moves through the holes and loosens up the wallpaper. Let it sit for at least 5 minutes.
start removing the paper

 Now is the moment of truth! I scrapped off the paper, leaving a blank wall. I use a putty knife to loosen the paper. Be careful not to gouge the wall- it’s easy to do since it is wet and softer than usual. I started at the seems since they never laid quite flat.
As I kept removing the wallpaper, I realized it was easier to take off the paper front and leave the backing, soak the backing, and then pull the backing off. It came off in long strips and was super easy and less messy!

remove the wallpaper paste
Last, you need to make sure all wallpaper paste is off the wall (or you will have problems when you go to add your next finish to the wall)! I combined a tablespoon of dish detergent with hot water and use a sponge to take off any leftover paste. I did one last rinse with water and then towel dried the wall.
My fan was on and it was a hot day so it dried quickly. Make sure to give it ample drying time before painting or re-wallpapering. To do one wall, it took about an hour to remove wallpaper.
What would this post be without a sneak peek of what the room looks like now, with the wall painted white?!
Paint- Delicate Linen from Olympic (available at Lowes) in satin finish
And there you have it! The easy way to remove wallpaper! Plus, I have the directions all typed up and pretty for you!


Thank you for talking about covering the outlets when removing wallpaper. It makes sense that remembering this can help you make sure you don’t have any accidents during the process. I would imagine that consulting with a professional can help you come up with the best plan and get the results you need.