
When we first moved into our house in 2018, none of the closets had any doors- why?! It was an annoying issue. We’ve slowly been fixing that. For my son’s room, I added cheap drapes a few years ago and it looked pretty sad. So we decided to give him real closet doors! Here’s how to install bifold doors.

how to install bifold doors
SUPPLIES
- 2 Bifold Closet Doors
- 2 Door Tracks for a Bifold Door
- Paint- I used Frosted Sage by Behr in a satin finish

How much does it cost to put bifold doors in?

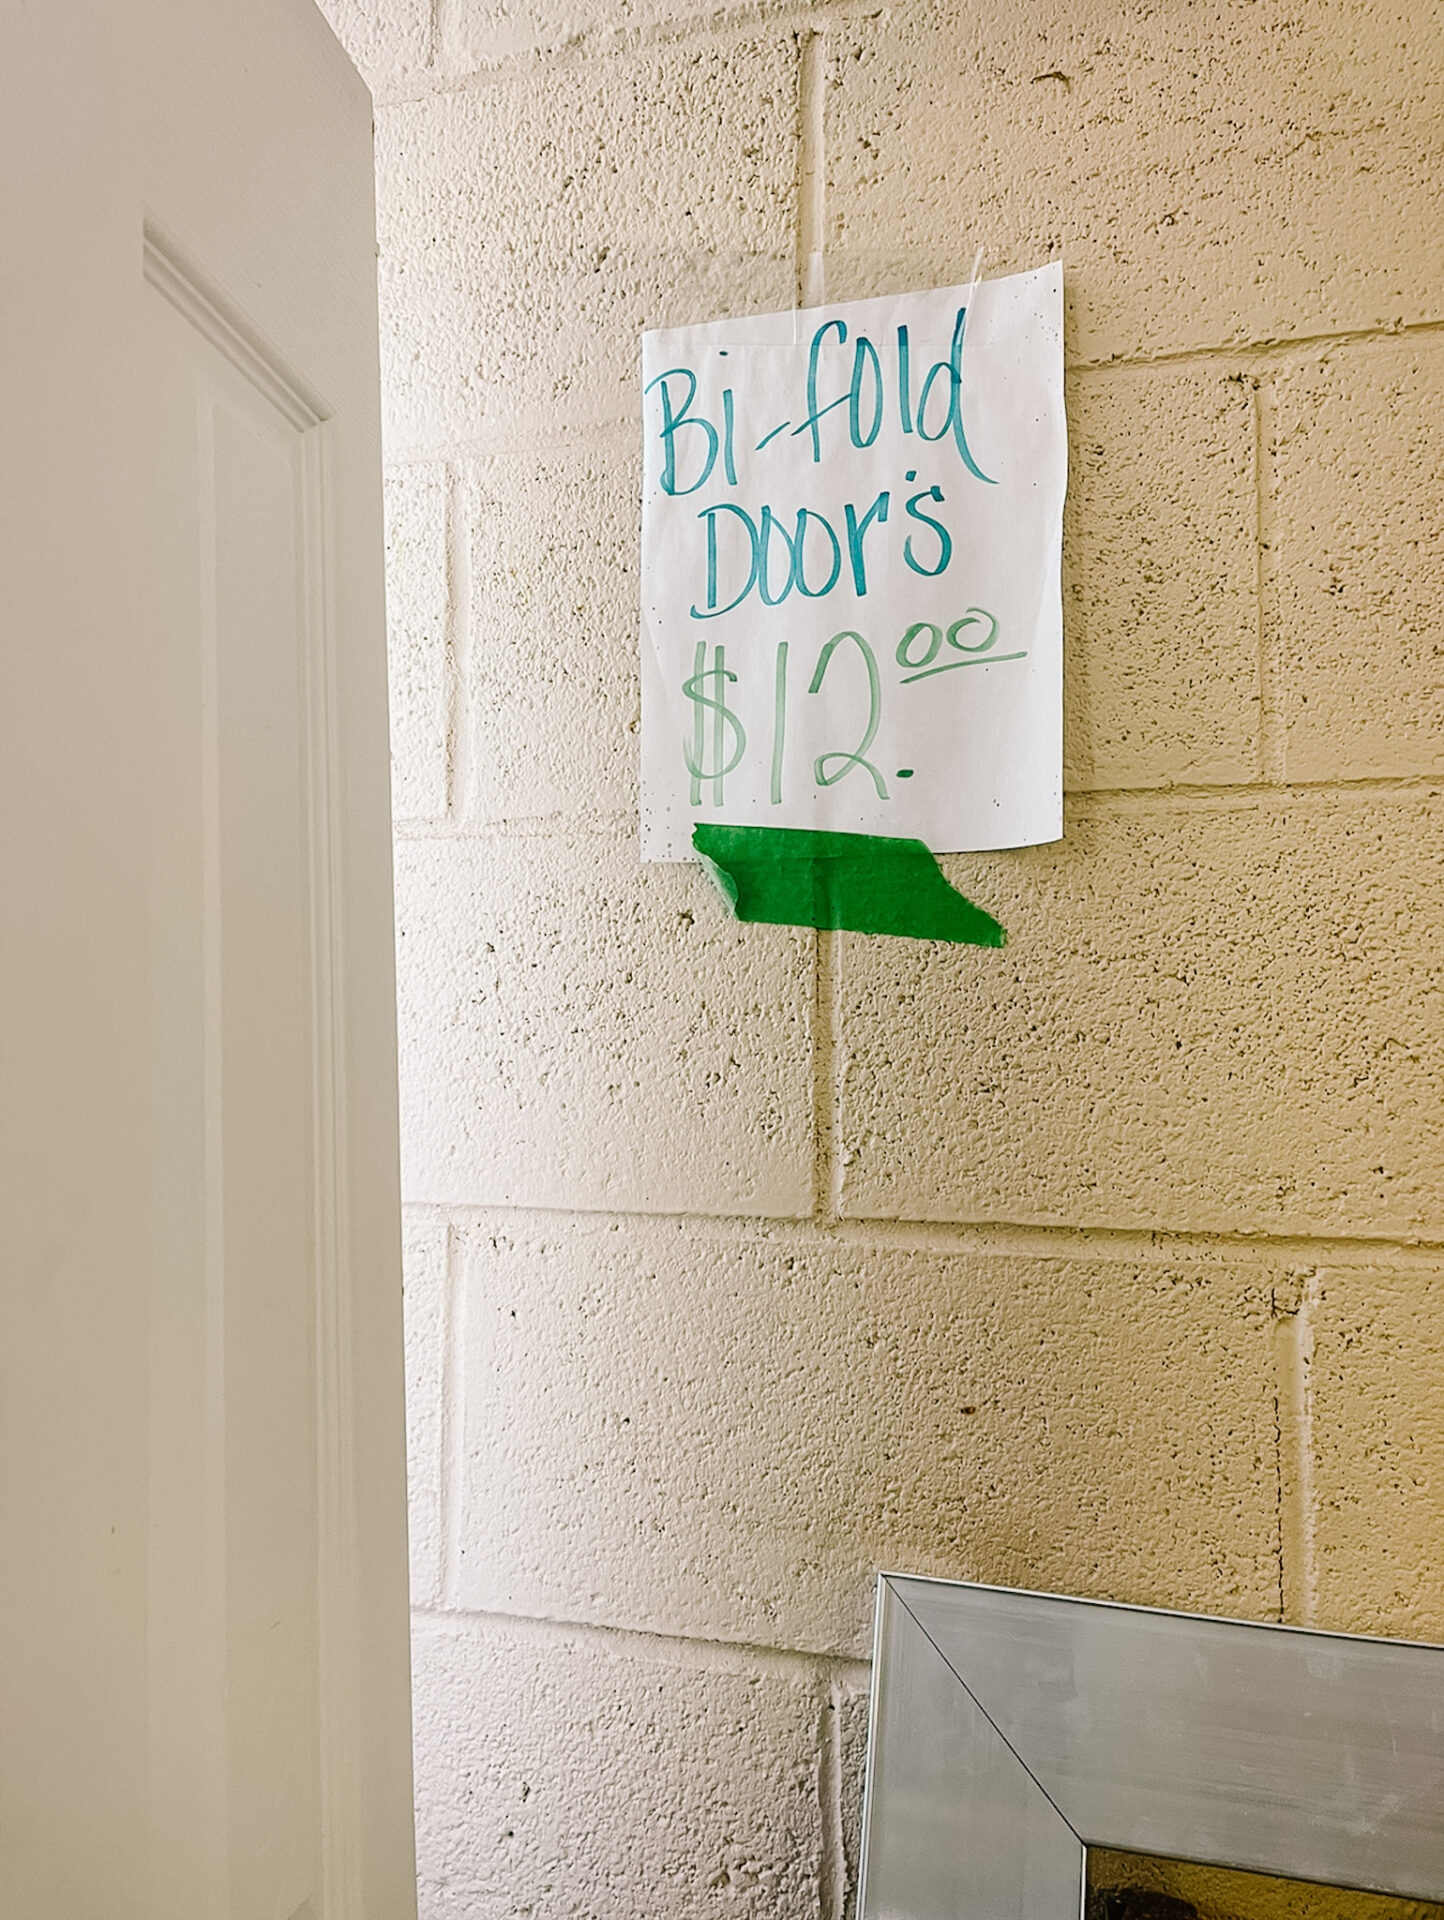
I bought my doors used from Habitat for Humanity for $12 each door for a $24 total. To buy them new would have cost $86 per door for a total of $172. By buying a used door, it saved $148! The tracks cost $36- they were each $18. The total I spend on the bifold doors and the track is $60!
By the time the doors were installed and painted they looked like new! I suggest looking for used materials when you can since they save money and create less waste in the landfills. There’s no shortage of used materials. For my projects, I stop by my Habitat for Humanity first to see if they have what I need before going to a big box store.

step 1- prep and measure

Start by removing any old doors and hardware. We removed the drape rod and drapes.
Next, measure the closet opening. This number is important to have for buying the right size new doors.
Unfortunately, we live in an old house where nothing is simple and the opening was 57.25.” This meant that standard doors (that are 60″ wide), need to be altered to fit.
step 2- install the track

Next, install the track and brackets. These give the bifold door a track to glide open and close on. For installing the track, cut it to leave a 1/16″ gap on either end. Use a hack saw or multi tool to cut the track. Screw the track to the header of the door opening. Center the track on the frame and put the pivot bracket toward the jamb.

If the closet will have two bifold doors, you’ll need to install two tracks next to each other.

If needed, do repairs to the door opening. We ended up needing to fill screw holes from the old drape rod and I painted all of the trim.
Note, I should have done that before installing the track, it would have been easier to paint the header before the track was installed.
step 3- alter the doors
We bought 30″ wide bifold doors, but since our door opening was shorter and more narrow than standard doors, they needed to be altered before installing.

To make the bifold door skinnier, each door was ran through the table saw. Then the top was also cut shorter with the table saw. These are hollow core doors (so they aren’t solid wood all the way through). Because not much width was taking off, the sides were find, but by making the doors shorter, the wood block at the bottom came out.

So we removed the laminate pieces from the front and back of the door. Then we used construction adhesive before inserting the wood block back inside the door to adhere the wood inside the door.
This block is important. Without it, the door would be hollow. Also, the wood block has a hole in it which is how the door is attached to the floor.

Last, screws were used to hold the wood in place. I also used clamps to hold the wood block in place while the glue dried.
Later, once the glue was dry, I put wood filler in the screw holes and sanded it smooth so you can’t tell the screws were added.

While the doors were still outside, I painted the sides and the back. I figured that these would be much easier to paint while they were flat instead later when I’d have to paint them inside a dark closet.
step 4- installation

Finally, it’s installation time! We wanted to make sure the doors will be centered on the trim, so we measured and lightly marked the center of the closet door jamb.

For the doors to pivot, they need a way to connect to the floor. Install the jamb bracket at the floor. Use a drill to create pilot holes and then use screws to connect the bracket to the jamb with screws.
Next, use a hammer to tap the pivots (our kit came with metal ones) into the holes at the top and bottom of the door.

Now the doors can go in! Insert the top pivot in the the bracket on the header. Once that’s in place, put the bottom pivots in place on the floor brackets.

For the last step of installation, insert the round white plastic part into the track. That’s the snugger guide. Once that’s in, squeeze the pivot on the top of the door, put it under the track, and release it. That will make it so the guide pivot is secure in the track.

making adjustments
Most bifold doors won’t open and close easily when first installed and will need to be adjusted.
To adjust the height, lift the door and rotate the bottom pivot. This’ll prevent the doors from rubbing on the floor or the top of the header.
To adjust the sides, lift the door and slide it into a better position on the jamb bracket. Then, loosen the screw in the top pivot bracket and slide until the doors are straight. Finish up by tightening the screws. This’ll prevent the doors from being crooked or hitting each other.

Last, I painted the outside of the doors to match the trim. My son’s favorite color is green so I thought he’d like that for his room.
split wood ball wall treatment

At this point, the doors looked a million times better than the sad drape! But it wasn’t quite weird enough for me- lol! So I bought 20 split wood balls in the biggest size I could find- 3″.

I’ve been seeing a fun trend where you add wood accents to your walls for quirky wainscoting. I’m into it! First I planned out the spacing the wall. It ended up working out to have the balls 6.5″ from each other. I wasn’t sure how to hang them- could a nail go through those thick wood pieces?! I ended up using velcro command strips.

I cut each strip in half because these are pricey and each split wood ball is super light. Then I marked my spacing on the wall and then put the command strip into place.

painting the split wood balls
Next, I painted the split wood balls with two coats of latex paint. I used the following colors-
1. Beloved Pink, 2. Shy Smile, 3. Coral Fountain, 4. Corn Stalk, 5. Frittata, 6. Frosted Sage 7. Sparkling Brook, 8. Green Aqua, 9. Tinted Ice, and 10. Early September
I painted two balls the same color.

Last, I applied the other side of the command strip to the back of the wood split sphere and connected the velcro together!

after

And here’s the wall all finished! It’s so fun! Doesn’t it look like candy on the wall?! Which is definitely appropriate for a kids room- lol.

These are large and sculptural. I love the colors! They are also really easy to remove if I ever get sick of them. It was a low commitment and a fast and fun project.

And, of course, the doors are the stars of the show. I’m so glad that we finally took the time to put them in. Any questions on this process of how to install bifold doors? Let me know in the comments.
 This post contains some affiliate links for your convenience. Click here to read my full disclosure policy.
If you love it, pin it!


