
I think we’ve all seen the beautiful hotel Viceroy that Kelly Wearstler designed. Outside, she created a statement wall with plates hung on the wall. The tricky part about putting plates outside is that wind can knock them off of the nail. And glue can fail over time. I wanted to share how to hang plates outside in case you want to get this look too.
how to hang plates outside

In the spring, I did a little sprucing up of my outdoor she shed area. I found some vintage plates while shopping and thought it’d be fun to hang them.
I remembered that Hunted Interior mentioned that she had glued up her outdoor plates and they had fallen down over time and broken when the glue had failed. When putting up new plates instead of glue, she drilled a hole in the plate and hung it with a screw. She said that according to her research, that’s how Kelly Wearstler had done it too.

So that’s what I did too! I’ve also continued this look for my outdoor souvenir plates. I’ll go into more details below in case you want to hang plates on the wall too.
SUPPLIES

The most expensive part of hanging plates outside with this method. The drill bits cost $14-$18 for a set of 4. Certain plates are really tricky to drill through and cause the drill to go dull after 3-5 plates. So you need to keep buying new drill bits if you do a lot of plate hanging.
step 1-

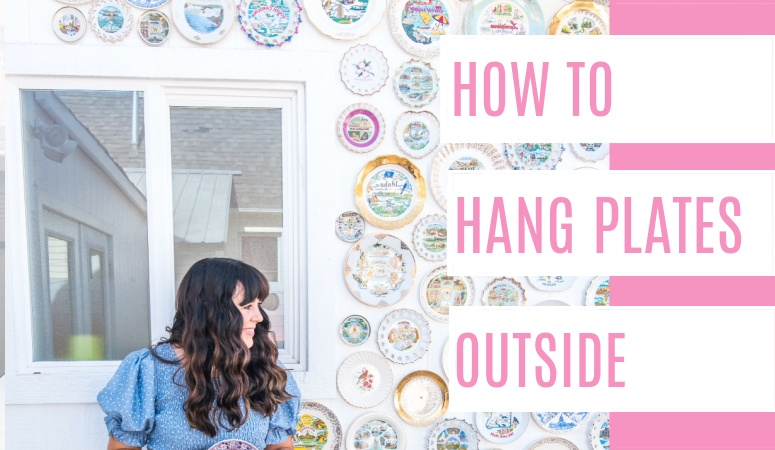
I’ll show with pictures the method I use. For my souvenir plate wall, I moved it outside after outgrowing my indoor wall. It’s a north facing wall with an overhang from the roof. That means that even when it snows or rains, the plates are protected. Plus, there’s minimum sun hitting the plates (which may cause fading).
Start by putting a Tile Drill Bit into the top of a Drill. I like to use two drills when doing this project so I can put the star head drive that goes with these GRK Screws in the second drill. That way, I don’t have to take out the drill bit and switch it out for the drive multiple times.
Then use the tile drill bit to drill a hole through the center of the plate.

Tip- keep a cup of water close by to cool down the drill bit. Drilling the hole will make a mess with dust from the drilling so have a rag close by to clean up the plate after the hole is created.
step 2

Next, put a screw through the hole in the middle. Make sure to use screws that are designed for exterior use. A rusting screw would ruin the plates.

step 3

And now, hold the plate up and drill the screw through the outdoor wall. Make sure to not screw in too far or that could crack the plate.

Continue to hang the plates in the desired locations.
after

Here’s all of my plates on my plate wall. I can’t really call if an after because I plan to continue to keep hanging state travel plates until the whole wall is covered!

I love the impact this wall makes! It’s unexpected art outside. Plus it’s sentimental since it celebrates my love of travel and I have special memories from many of these places. Would you hang plates outside?
update

I have since finished the plate wall from floor to ceiling. On the wall all 50 states are represented!

I even planted some daffodils underneath them. They definitely look their best in early spring.

Now it looks like art outside! To clean it, I simply hose it off every year. I started hanging these plates in 2021- 5 years later not a plate has broken. They do not move in the wind (or even if you touch them). Personally, I think this could withstand many climates. I hope you give it a try!
 This post contains some affiliate links for your convenience. Click here to read my full disclosure policy.
If you love it, pin it!


Ashley, this is so beautiful. Thank you for sharing this tutorial. Blessings.
Such a colorful wall and a great use of the plates!
I love your plate collection but couldn’t bear to drill holes in mine. Last year I replaced my basket collection on the soffit over my kitchen cabinets with part of my blue and white plate collection. I used the wire/spring hangers and they aren’t all level. But they sure are pretty and some have the happy memories that your travel plates do. Someday I will hang my collection of plates with pink roses in my daughter’s former bedroom–it still has the pale pink walls.