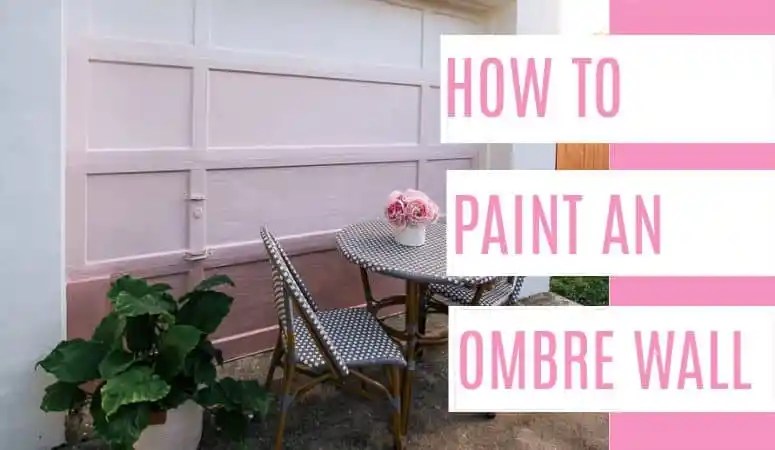
I started a fun project yesterday- painting my garage. It was just a boring black, but I thought it’d be fun to paint it in a gradient of color going from white to pink for a bit of a sunset vibe. I love a good ombre moment, so I grabbed some paint I had on hand and spent a few hours painting! Here’s how to paint an ombre wall.
how to paint an ombre wall
When we moved into our house in mid January, it was a poo brown with black accents. We’ve spent LOADS of time repainting the house white. The black awnings came down when we got new windows. And now, just the garage was left.
SUPPLIES
step 1
Begin with prep by cleaning the surface well. I used a rag that was slightly damp. with water and dishwashing soap. Clean down the wall and make sure to remove any dirt. Rinse the wall with clean water to remove any soap residue. Dirt can make it so the paint doesn’t adhere to the wall.
I forgot to take a proper before picture, but it was just a black garage door on a white wall-
step 2
Start the painting in a simple way- by painting the whole wall the lightest shade of paint. I used Ultra Pure White in an exterior paint grade with a satin finish. Let it dry completely.
step 3
And now, it’s time to make a plan. Where do you want the paint to hit on the wall? For my ombre wall, I choose 4 colors which meant that my wall needed to be divided into four equal sections. Picking three colors would also work. Since my garage has 4 sections, it was incredibly easy to know where the paint should start and stop.
If it’s a plain wall, measure the height of the wall and divide it by the number of paint colors that’ll be used. Then use a pencil and a level to lightly mark where each color should go.
step 4
Next, paint the second section down with the second lightest color. I used First Light. Since there were three sections, I just used a paint brush and had to do two coats of paint.
Don’t worry about blending the two colors together, that’s the last step of this process.
step 5
Keep painting down the wall. For the last two colors, I used Honey Hut and Rose Bisque. You can tell where each color hits another- I wasn’t too careful because I knew I’d be blending at the end.
step 6
Now this is the fun part- blending time! Start by creating a wet edge with the paint. Use a paint brush to repaint the bottom edge of the lighter color. Then use the brush for the darker color and repaint the bottom color next to the new wet edge. You can tell in the top picture that the top row has been blended with a wet edge.
Next, blend the paint. Use the brush from the lighter to blend the colors evenly. I held the brush ad a 45 degree angle to mix the two colors and create a nice gradient in the colors. I made sure to work in small sections to make sure that the paint didn’t dry while I blended the wet paint.
In this picture, you can see that the top two blended sections are complete. Note, I considered mixing the two colors of paint in a bottle and then painting it on the wall. When doing this, usually a lot of paint is wasted. I am SO glad I just blended with my brush instead.
after
And here is the completed ombre painted wall! It actually was a pretty straight forward project. It was fun to play with a new paint technique! I think it looks like a sweet sunrise.
Side note, Don begged to be in pictures and how can I say no to this cute face?!
My original plan was to have this be the background to a bigger mural. Let me show you the inspiration and ask your thoughts-
mural inspiration
I love, love this picture. I’ve pinned to Pinterest 100 times.
View this post on Instagram
Could I use the background I just painted and add some palm trees and birds and flowers? Or should I leave it as it is? Let me know your thoughts. The temperatures should cool down this week, so it’d be great timing to try it out. Today it felt like it was 96 with the humidity so being outside in cooler temperatures sounds lovely.
Anyway, I’d honestly love to hear if you think it should stay as is with the ombre or if I should try for more mural painting?
 This post contains some affiliate links for your convenience. Click here to read my full disclosure policy.
If you love it, pin it!


Yes ! Do a mural !!
This is lovely! Much better than the black!
Your mural game is so strong – do it again!
This looks cute, but I vote no mural. Sometimes less is more.
I’d leave it as is for now. Maybe a mural later? Thanks for sharing at Vintage Charm. Pinned! xo Kathleen