Wall hangings
Today we are talking all about wall hangings! A few years ago I got my first woven wall hanging and I fell in love! They are super customizable because yarn can come in any color. They add a ton of texture and interest to a space. And they really break up the monotony of frames on the wall. So I’m a fan!
The part that I’m not a fan of is the price- they are AT LEAST $100 to buy. And that’s for a small one. I saw a friend weave one and it took SO much time (and it’s a pretty tedious task)! While I was at the store one day, I saw a mop head and a light went off in my head- I could make one for less money and quicker! So I grabbed that mop head for $6.89 and brought it home! Side note, if you don’t want to leave the house to DIY (and I don’t blame you!)- here is where you can get the mop head on Amazon.
Who’s ready to learn how to make a wall hanging out of a mop head?!
Supplies

Rit Dye (I used Petal Pink)
CUT

Start by cutting your mop head apart. You are going to cut off the plastic pieces and then cut it into 3 pieces. Cut right at the green hem tape line. You will get 3 pieces- a long, a medium, and a small looped piece. Cut the medium and small pieces in half and you’ll end up with a total of 5 mop head pieces.
Side note, I’ve made this wall hanging a few times. The second and third time, the looped small part was only long enough to provide one piece for the wall hanging. So you’ll want to make sure its long enough before you cut it in half.

DYE
First off, put on rubber gloves. Pour your dye into a pan of water. Heat up your dye on the stove top.
While your dye is heating up, run the mop head pieces under the water until they are thoroughly wet.
Next, it’s dying time! I wanted a light pink, BUT I put the first piece in for way too long (less than a minute- but I didn’t have enough water so I’d suggest testing it first). Mine barely needed to touch the dye and it sucked up the color like crazy and turned a raspberry color. So here’s my pro tip- cut off one strand of the mop and test it. If I would have used less dye, I would have gotten the lighter color that I wanted.
While I rinsed out the first piece to get some of the dye out, I dripped the leftover dye onto the other mop head pieces and that worked much better for getting the light pink color I wanted.
DRY
I put a towel on my floor and then hung up the mop pieces on a drying rack. They took a while (a full 24 hours) to dry- they were super wet! The second time I did this, I rung out the pieces better and dried them outside in the sun and they dried in a few hours- just a tip in case you are in a decorating hurry.
ASSEMBLY

Now it’s time to construct the base for your wall hanging. You aren’t actually weaving anything (yay!), so you need something to attach the mop pieces to. I cut an 11”x14” piece of felt. I cut out a v in the bottom (because I want the bottom of my wall hanging to hang like that).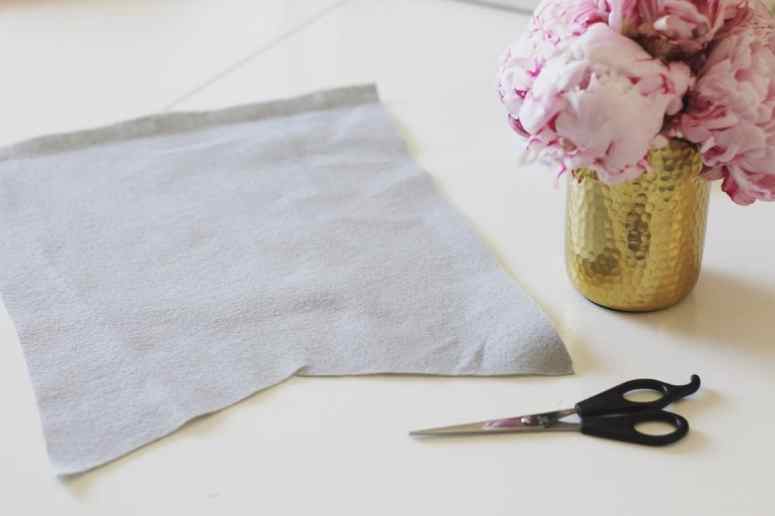
Next, I took my 12” wooden dowel and added twine to each end to make a loop for hanging. To finish my base, I sewed the felt onto the dowel. You could also use hot glue.
SEWING
It’s sewing time! Or hot glue time based on your crafting expertise level. I pinned the longest mop head piece a few inches up on the felt. I sewed that piece on.
For the next smaller piece, I pinned it an inch up and then sewed it on, which overlapped the last piece a bit. I continued doing that with all 5 pieces of mop head.

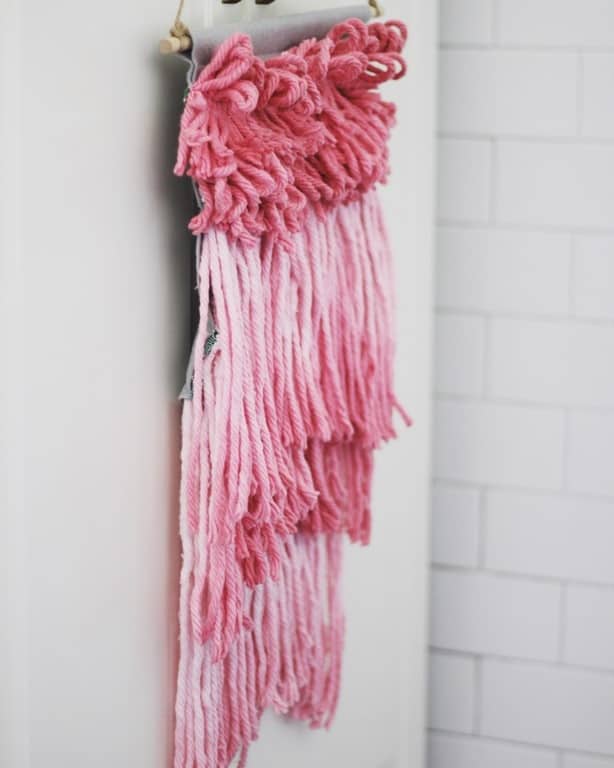
And just like that I was done! If I was to go back and resew it, I would space out the mop head pieces so that the top piece would cover the felt a little bit more. But overall, I love it!
I hung it over my dresser to finish up my gallery wall!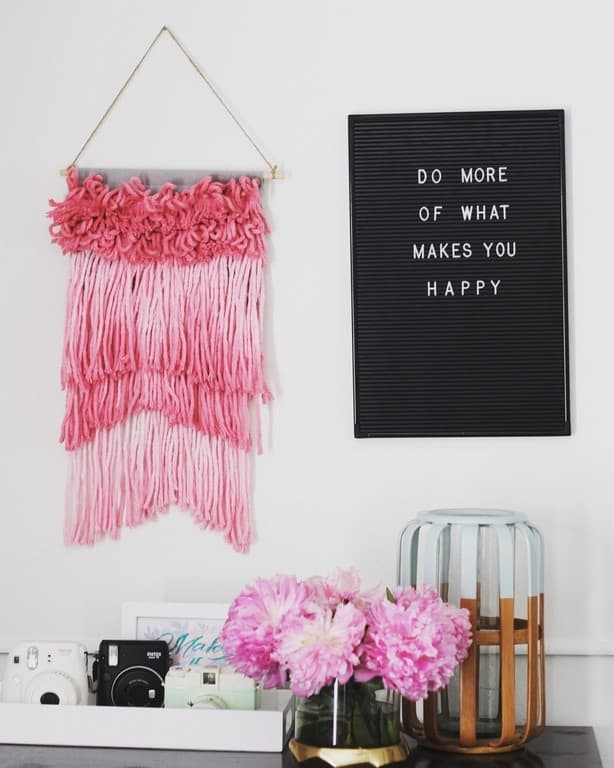
Isn’t it so, so cute?! And it was seriously easy! And cheap- I had most of the supplies on hand and only needed to spend $10 on dye and the mop head. It’d be $13 if you had to buy everything.

So what do you think- is this a project that you would try? It was really fun and satisfying! Let me know if you try it out or leave a question in the comments.

My little helper loves it too 😉
A month or so after I wrote this tutorial, I was on TV to share how to make it! If you’d like to watch it, here’s the link.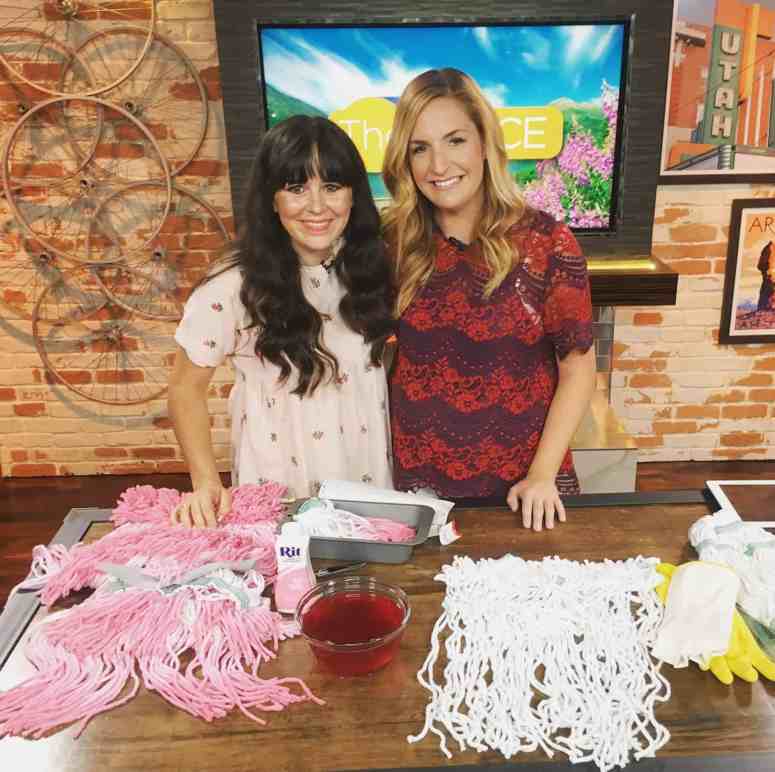
Shop this post:

 p.s. want a free course on how to style your accessories to look amazing? Enter below to get your free ecourse!

[yikes-mailchimp form=”5″ submit=”Send me my free course!”]

This post contains some affiliate links for your convenience. Click here to read my full disclosure policy.
Such a great idea, Ashley! I can’t believe I haven’t seen this idea anywhere else yet! A premade mop head has the perfect texture.
Thanks Nina! It was so easy too! The dying is the most fun part if you decide to make it 🙂
What a creative idea! Thank you for sharing the details and step-by-step, I’m definitely going to make one myself!
Thanks Sean! If you do, let me know! I’d love to see it!