
I thought it’d be fun to buy a vintage tablecloth and turn it into a dress! I focused on 1950’s midcentury tablecloths and found the cutest kitchy linen. It has a kitchen motif with cookies, a teapot, and spoons. I used the McCall’s M8108 pattern and I thought I’d share some details on how I made my tablecloth dress.

how to make a tablecloth dress
Let’s start with the video tutorial so you get an overview on what I did. Then, I’ll dive in with more details below:
If the video doesn’t work here, you can watch it on YouTube here. I’d be over the moon happy if you subscribed to my YouTube channel! Videos are actually released on YouTube first (usually the night before they’re published on the blog). Thank you!
SUPPLIES

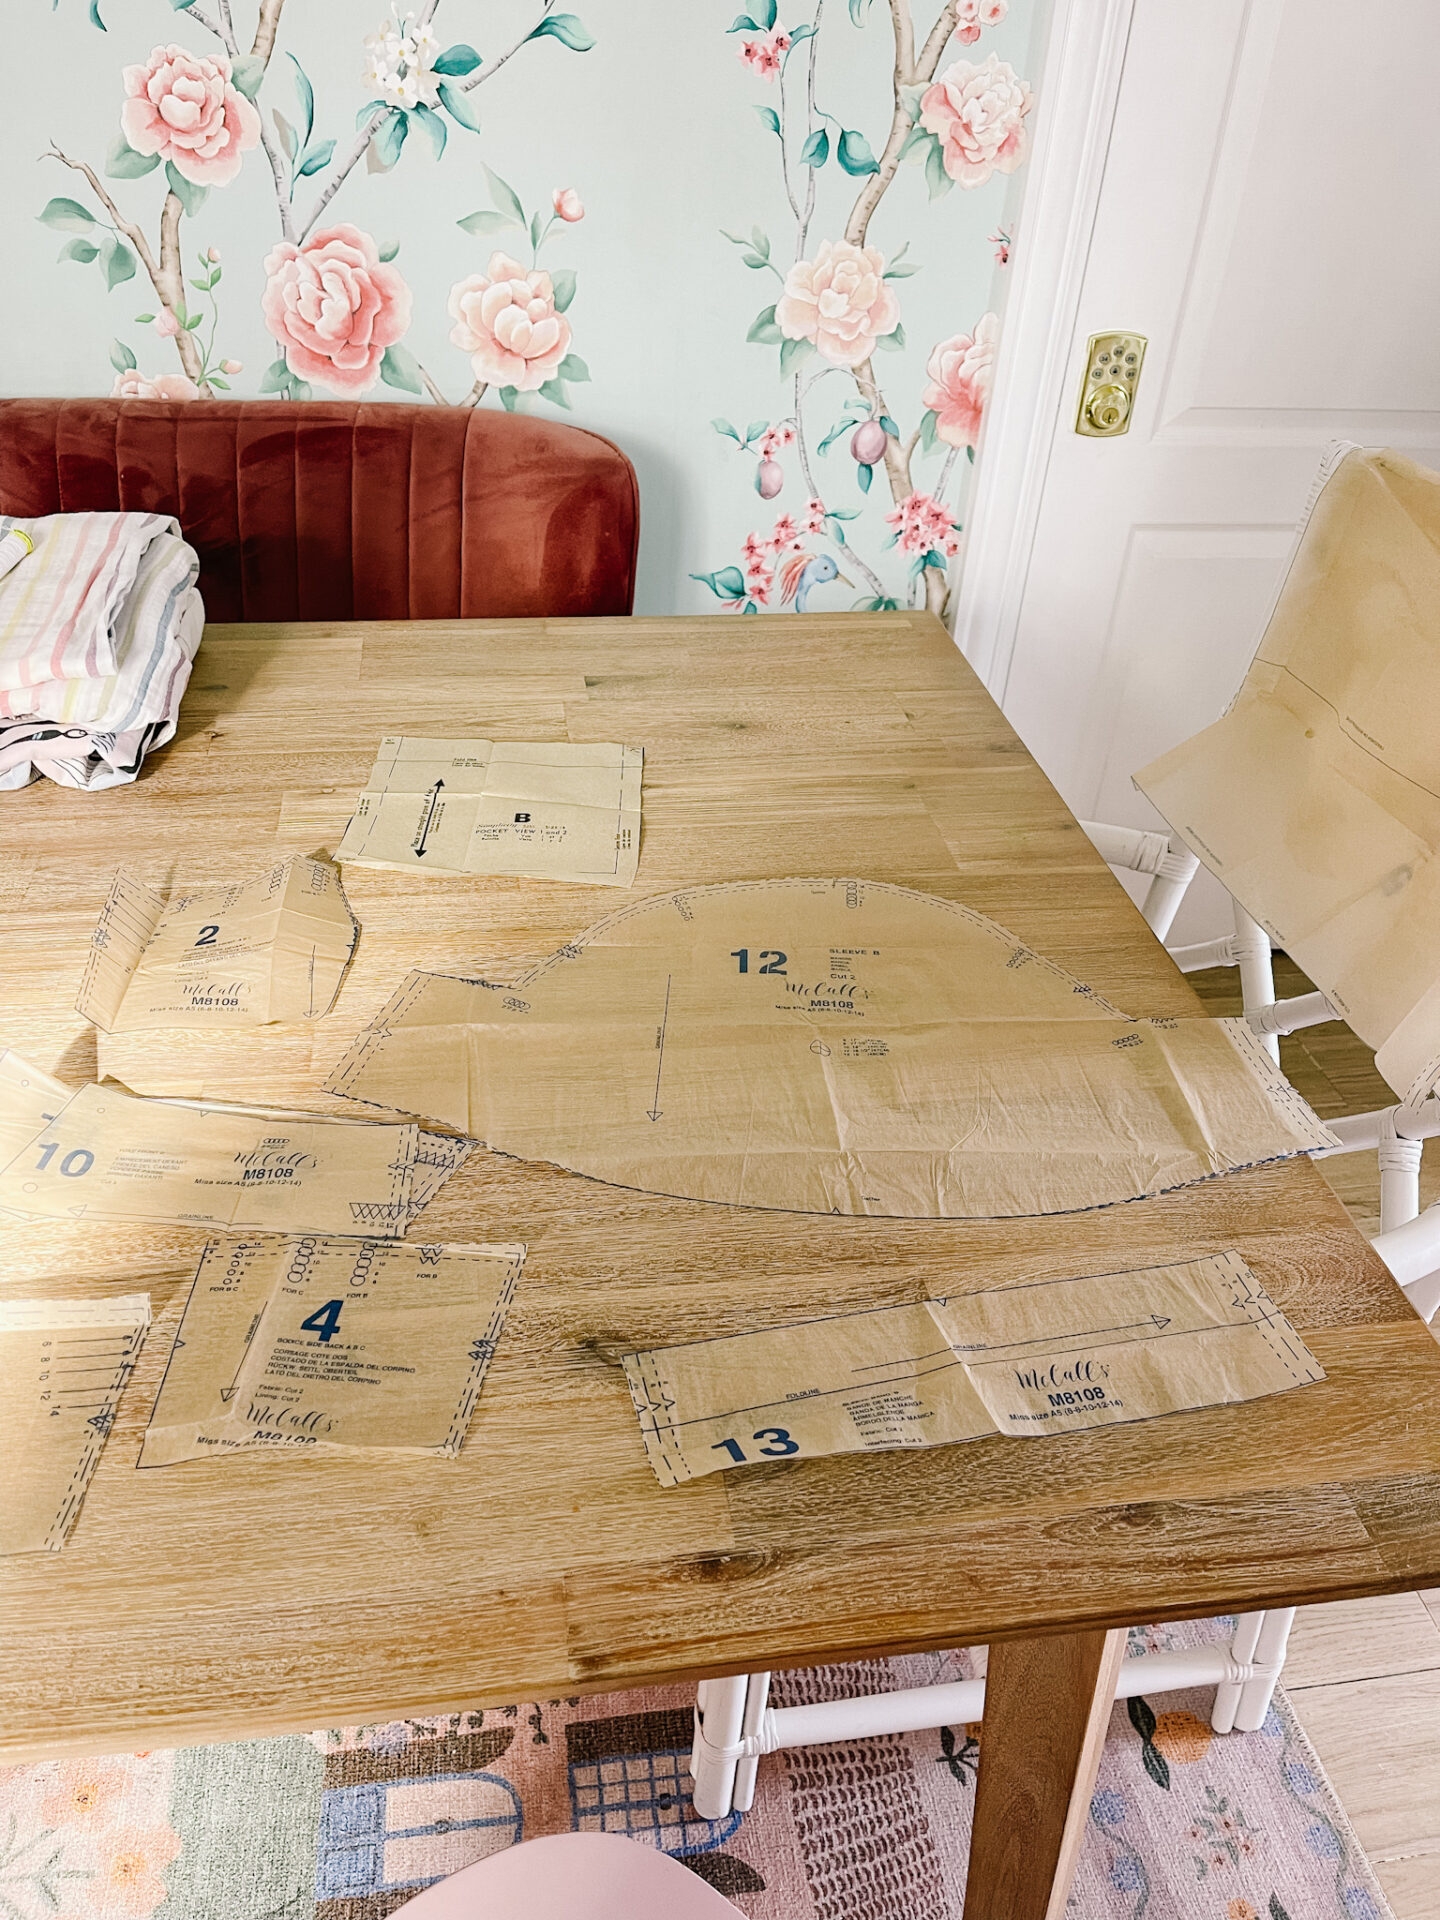
- Dress Pattern McCall’s M8108
- 2 yards rainbow stripe fabric
- Vintage Tablecloth

1 yellow tulips / 2 pink and blue floral / 3 roses in yellow / 4 blue and green roses / 5 roses on blue / 6 pink and blue floral / 7 orange bows / 8 pineapple / 9 pink cherries / 10 farm border red / 11 lavender flowers / 12 round pink

Price Breakdown-
$24.50 vintage tablecloth
$11.00 Pattern
$21.00 Fabric for skirt
$2.50 Elastic thread
Total supplies cost- $59
pattern notes

I used the Dress Pattern McCall’s M8108. I made some modifications to better work with the tablecloth, my skill level (I’m a beginner to intermediate sexist), and the look I wanted. Since I made changes, I thought I’d share those in case you want to get this same look with this pattern.
modification 1- size down
Start by sizing down on the pattern. To be honest, I did this on accident. On the back of the pattern package, I selected my size by looking at the finished garment size and measured my bust and went with a size 10 (which was 1″ larger than my measurement, but I figured that’d make it so it wouldn’t be skin tight) .
Later, I watched a bunch of YouTube videos on making the dress and they all mentioned sizing issues with the dress. They all said the pattern runs large and to size down two sizes.
Then I realized that on the flap of the pattern it shows the actual sizing and I should have done two sizes larger. BUT sizing down worked out. So I’d suggest that! Or go with the finished garment size.
As I made the dress I kept trying it on to make sure it fit.
modification 2- start with the lining

Next, because I’d seen so many reviews that mentioned the sizing issues, I was worried about cutting into the tablecloth fabric and then having the bodice not fit. SO I created the lining and tried it on. It fit!
By creating the lining first, I was able to test the fit and figure out how to correctly sew the bodice. The lining needs to be sewn and by doing it first, I had peace of mind that I’d be able fit in and create the bodice.

Side note, when I was cutting out the bodice, I struggled with lining up the pattern so the picture lined up. What ended up working was cutting out the middle chest piece first. Next, I held it on the tablecloth to the spot I was trying to patch up. I folded the seam allowance under and when I got it to match up, I used a sewing marker to mark where I needed to cut.
modification 3- sleeves

And now, for the sleeves. I think the puff sleeves on this pattern are super cute, but I was worried it would hide the pattern with the gathers at the bottom of the sleeves.
So I started off by making the sleeves according the to pattern. I cut out the fabric, gathered the shoulder, but then I held it up and decided that instead of adding a band on the bottom, I’d leave it at a bell sleeve. All I had to do was hem the sleeve before sewing it onto the dress.
Side note, from the reviews I watched and read, I was concerned about how tricky it would be to sew the sleeve into the arm hole. I had read that it’d be hard. But I was able to easily pin it in place and set it.
Once the sleeve was in, I felt like I’d gotten to the fun part of sewing the dress! After this, the progress came quickly and all I wanted to do was finish the project up.

modification 4- no zipper

The dress pattern calls for a back zipper. I’ve never tried adding a zipper, but I didn’t really want to learn with this project- ha! Besides possibly being beyond my skill level, I find zippers uncomfortable AND you sometimes need help to get dressed- no thanks.
Instead of a zipper, I decided to shirr the back of the dress. So, I modified the back by adding 10 inches and making it one panel instead of two pieces. Then I used elastic string in the bobbin and sewed lines that gathered the back into shirring.
Note, I didn’t line the shirring section. The tablecloth fabric is a medium weight and shirring works best on light weight fabric. So I didn’t want to add more fabric with lining and have it not work.
modification 5- fuller skirt

Another thing I kept hearing from the reviews on this pattern is that the skirt isn’t full enough. I love a skirt with lots of movement and gathers so I bought 2 yards of fabric for the skirt. Then I cut two rectangular lengths of fabric from salvage edge to salvage edge. I figured out the length (23″) by holding the fabric up to where the bodice hits and seeing how long I wanted the skirt.

Note, the skirt ended up being a tiny bit short, but it’s fine. If I was to do it again, I’d probably go 24-25″ long
After cutting out the fabric, I first sewed the sides together.

Then I used more of the elastic from the shirring and used it on the bobbin to gather the skirt. Then I attached the skirt to an elastic waist band. I made this step up- I don’t think it’s technically the right way to do it, but it worked.
I wanted to make sure the dress was easy to put on and take off since I did the shirring on the bodice. Plus, adding elastic to the waist makes it more comfortable. Last, I hemmed the bottom of the skirt.
modification 6- pockets

The final modification I did was to add pockets to the dress. I did this for two reasons. First of all, I love pockets and what’s a dress without pockets? I need a place for my phone. And hands. Second, I wanted another area to show off the cute pattern from the tablecloth.

So I used the pocket pattern from a vintage pattern. It’s just an 8″x8″ square so it was simple to hem the top (the instructions said to fold it over 1 1/2″), iron over the sides with a 5/8″ seam, and then sew it onto the dress.

Getting the placement correct took awhile. I smoothed out the gathers and figured out where I wanted the first pocket then I pinned it on. Next, I did my best to get the second pocket symmetrical on the other side. It took a few tries before I got it pinned in the right spot. Then I sewed them both onto the skirt.
after

Ta da! Here’s how the tablecloth dress turned out! It’s fun and whimsical and I love that I was able to make something old new again.

It does show my bra from the back, but I think it’s still cute.

Especially from the front- I love how the rainbow stripe on the skirt works with the pattern from the vintage tablecloth. I can’t wait until spring to wear it!

Do you like how it turned out? Would you make one? I’d love to hear in the comment.

 This post contains some affiliate links for your convenience. Click here to read my full disclosure policy.
If you love it, pin it!

I think the dress is adorable. If you do decide to make it longer you could easily add a ruffle to the bottom. I bought and sewed that exact vintage pattern in 1964 when it was new. (The one you got the pocket pattern from). It was a very comfortable dress. At that time, patch pockets on dresses were quite common so people who think they only belong on aprons are just wrong :). I think your pockets are especially nice because they show more of the table cloth pattern
So cute. Good job.