 Last year was our first year in this house. Figuring out the holiday decorating while renovating was a lot to do. This year, I feel much more settled and want to go all out with the Christmas decor! Yesterday’s task, put garland around the doorframe leading to the stairs and kitchen. I figured, paper would be a festive and affordable. Here’s how to make a DIY paper holly garland.
Thank you to The House Lars Built for the inspiration for this post!
how to make a DIY paper holly garland
Let’s start with the video tutorial so you get an overview on what I did. Then, I’ll dive in with more details below:
If the video doesn’t work here, you can watch it on YouTube here. P.s. I’m trying to build that page up, so if you’d subscribe, I’d really appreciate that!SUPPLIES
- Cricut
- Mat
- Hot Glue Gun
- Floral Wire
- Green 12×12 paper. I used 55 sheets for my door frame.
- Scissors
- Command Hooks
- Ribbon I used gray because it’s what I had on hand. Green ribbon would be better because it’d hide.
- Styrofoam Balls I bought an 8 pack.
- Template
step 1
Start by painting the Styrofoam balls red (or pink if you love pink like I do). Sticking them on a tooth pick helps to make it easy to paint.
step 2
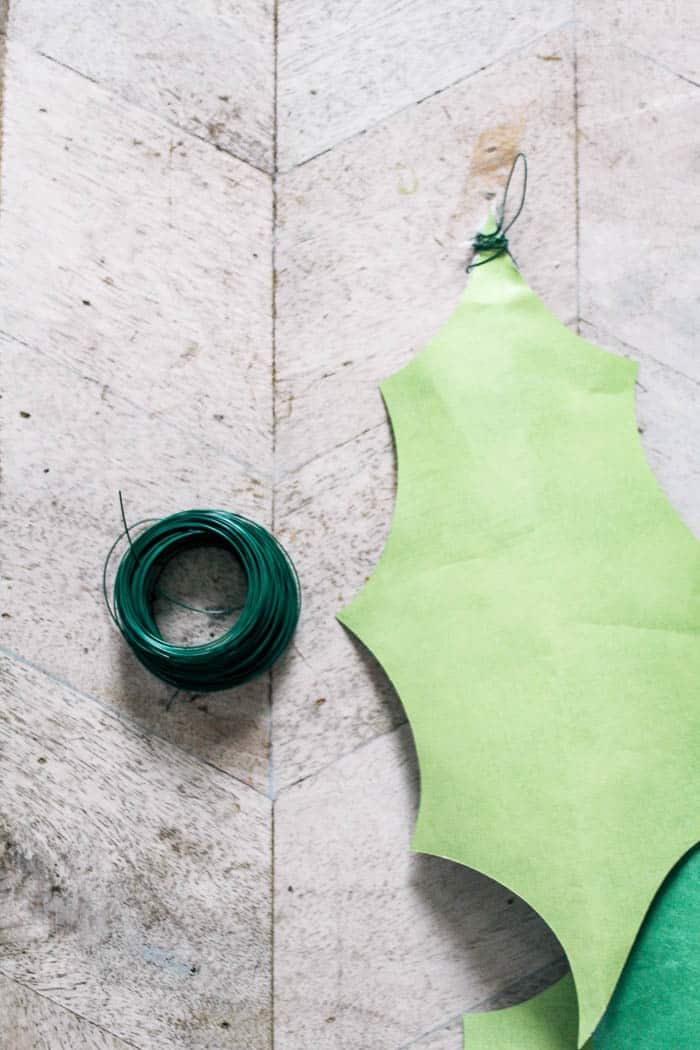
Next, start cutting out your holly leaves. I made 55 for my door frame. The success in this project comes in having a full garland. That means lots of leaves! I bought all of my paper at craft stores when it was on sale. I found that the thinner the paper, the easier it was to work with. For this project, I used a variety of green colors and I think that adds some good interest to the project.
Since I have a Cricut, I used it to cut the leaves. You can also download the template and use it to hand cut out the leaves.
Once the leaves are all cut out. Fold them in half and curl over the leaves. You can see how I did this in the video. By giving the leaves some dimension, it helps make them look more realistic.
step 3
And now, cut a piece of ribbon the height of the door frame. This will be the base of the garland and what holds the leaves together. Start at the end and hot glue on the holly leaves. Repeat this step for the top of the garland and the other side too.
At the ends of the garland, attach floral wire and create a small loop with the wire. This is how you’ll attach the paper garland to the wall.
step 4
Finally, hang up the two Command hooks in the corners. Then, use the floral wire loops to hang up the garland. Lay it straight down the wall and it should be good to go! For the top garland, those leaves looked super droopy when I hung it so I used green painter’s tape to keep them up.
after
 Here it is all hung up!!! Doesn’t it frame the stairs nicely?! I need to get some better photos tomorrow- when it gets dark at 4pm, it’s tricky to get everything done in time to get pictures in the natural light!

Even though the pictures don’t do it justice, it is so charming! I love, love how sweet and playful it looks!
From now until Christmas I’m doing 25 different crafts with a video and blog post with a tutorial. Here’s my other posts if you want to catch up!
Join me as I make 25 projects between now and Chistmas! Each DIY will have a video and a fun craft.25 Days of DIY
 This post contains some affiliate links for your convenience. Click here to read my full disclosure policy.


This turned out so cute! I may need to do something like this to our upstairs playroom!
Thank you!