Hi friends! I am a avid blog reader and I always LOVE reading how much the budget was and what the bottom line ended up being, so today I will let you know how much my kitchen renovation cost.
recipe box / gold vase (no longer available)
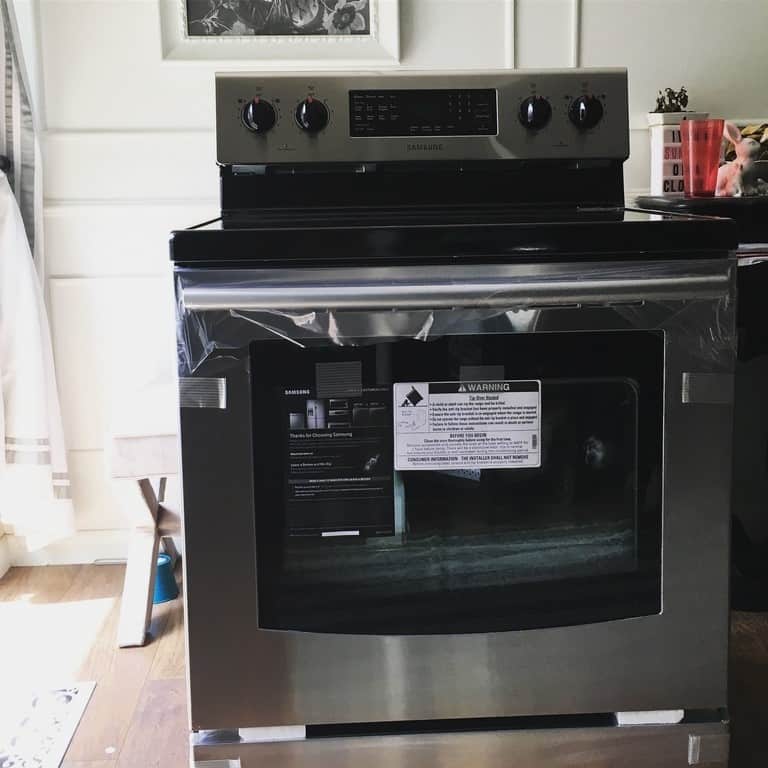
First up, one of my favorite things to do after completing a big project is to have a party to celebrate. We’ll be having friends over, but first we had a party just for our little family to say thank goodness we no longer have to work on this thing- haha! Oh and that we don’t have to eat out every meal (that gets old with a 2 year old)! stove (no longer available) / tea towel (no longer available) / hand vase (no longer available) / peony art (no longer available) / small knobs / long pulls / tile / quartz (no longer available)/ cabinets
I’m a girl who’s all about the appetizers so I pulled out some ranch dip and made a salsa/cream cheese dip. I paired it with some vegetables and Harvest Snaps.
gold vase / pineapple cutting board (no longer available) [Read more…]


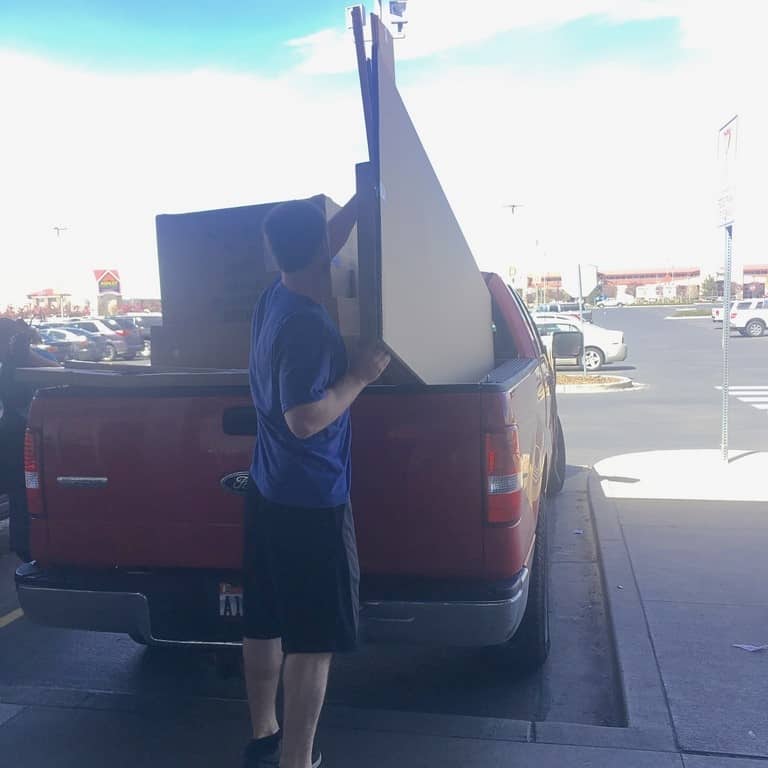


 Where our most important kitchen items are going during the remodel.
 the closet where my rarely used kitchen items are living 🙂
